If you provide web services with clients spread across multiple locations, you must be able to run your apps in a load-balanced manner across many datacenters. Azure Load Balancer gives you to scale your applications and create high availability for your services. Azure Load Balancer can use Internal and Outbound scenarios. It will be providing low latency, high throughput, and scales up to millions of flows for all TCP and UDP applications. To give an example, I would say "Azure Load Balancer supports TCP/UDP-based protocols such as HTTP, HTTPS, and SMTP, and protocols used for real-time voice and video messaging applications." There are two different types of Tier. We generally announce it "Basic and Standard."

Why Do I use the Azure Load Balancer?
Azure Load Balancer ought use to for that services
- Companies that have incoming internet traffic to virtual machines. This scenario is called as a Public Load Balancer in Azure
- Companies that have traffic between virtual machines inside a virtual network. You can besides communication a Load Balancer frontend from an on-premises network in a scenario. This scenario is called as a Internal Load Balancer in Azure
- When we have special cases, sometimes we have to use Port Address Translation. Port Forward traffic to a specific port on specific virtual machines with inbound NAT rules.
- Load-balanced gives you a chance to manage your IPv6 Internet connectivity all the way to native IPv6 endpoints on your Azure virtual machines.
In this article, you will learn how to configure and use Azure Load Balancer to improve responsiveness and availability of Azure Services.
What is Load Balancer?
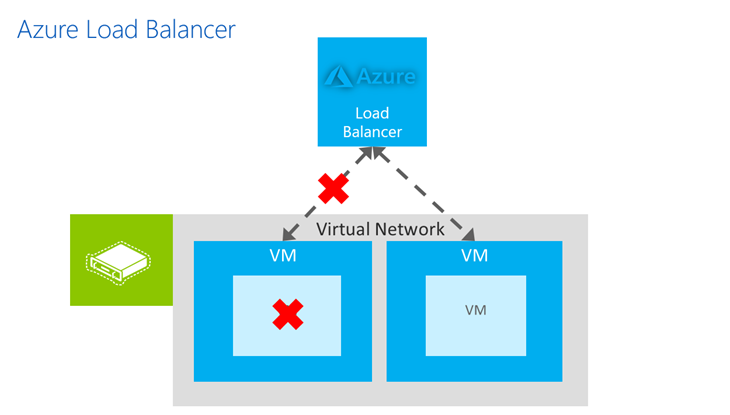
A Load Balancer Resource can consist as either a Public Load Balancer or an Internal Load Balancer. The Load Balancer resource properties are explicit as a frontend, a rule, a health probe, and a backend pool definition. Virtual machines are always placed into the backend pool by specifying the backend pool from the virtual machine. You can use an Azure Load Balancer to enhance availability and scalability of virtual machines by configuring them as a load-balanced set. Azure Load Balancer provides functionality similar to hardware load balancers by eliminating single points of failure (application or hardware), increasing uptime during planned maintenance or upgrades, and distributing workloads across multiple, identically configured compute nodes. Azure Load Balancer can handle traffic originating from within the same Azure virtual network, from any directly connected network, or from the internet. In addition, it provides the network address translation (NAT) capability, facilitating connections to individual virtual machines in the load balanced set.
Overview Load Balancer features
You can load balance traffic that targets specific IP addresses and specific TCP or UDP ports. The Basic Azure Load Balancer is free of charge. The Standard Azure Load Balancer has a charge related with it. If you are using the Standard Azure Load Balancer, it will come a few different features like Azure Availability Zones, HA Ports, Up to 1000 instances. You can have to look that picture to understand structure.


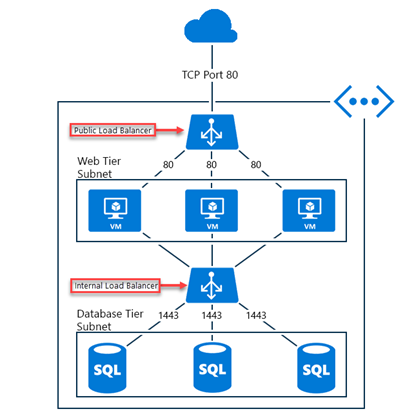
Both load balancers control the flow of traffic targeting an IP address and a port assigned to their frontend configuration across a set of virtual machines residing within a virtual network. Incoming traffic is subject to load balancer rules and inbound NAT rules that you define. The outcome of rule processing determines which virtual machine behind the load balancer becomes the recipient of that traffic
To configure a load balancer in Azure Resource Manager, provide the following details:
- Front-end IP configuration : Identifies one or more IP addresses that are accepting incoming traffic that needs to be load balanced.
- Back-end address pool : Designates the virtual machines that receive network traffic from the load balancer.
- Load-balancing rules : Determine how to distribute incoming traffic across virtual machines in the back-end address pool.
- Probes : Verify the health and availability of virtual machines in the back-end pool.
- Inbound NAT rules : Determine the types of traffic that should be redirected to individual VMs in the back-end pool rather than being distributed across the VMs.
You can use the Azure portal, Azure PowerShell, Azure CLI, Azure Resource Manager templates, or REST API to create a load balancer. For example, to create a virtual network, a virtual network subnet, and an public load balancer that will balance incoming network traffic on port 5590 and provide connectivity on port 3389 to two back-end VMs, you would use the following procedure.
Create Azure Load Balancer with
I will demonstrate you "How to create Public Azure Load Balancer with Powershell". You can also use Azure Portal. Before we start, you have to open Azure PowerShell, and then sign in to your Azure Resource Manager Subscription
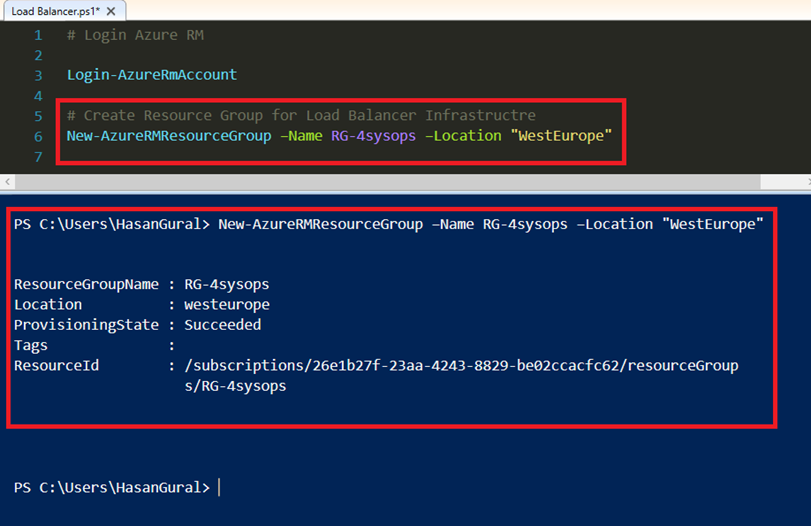
# Login Azure RM
Login-AzureRmAccount
Create Resource Group for Load Balancer Infrastrıcte
New-AzureRMResourceGroup –Name RG-4sysops –Location “WestEurope”
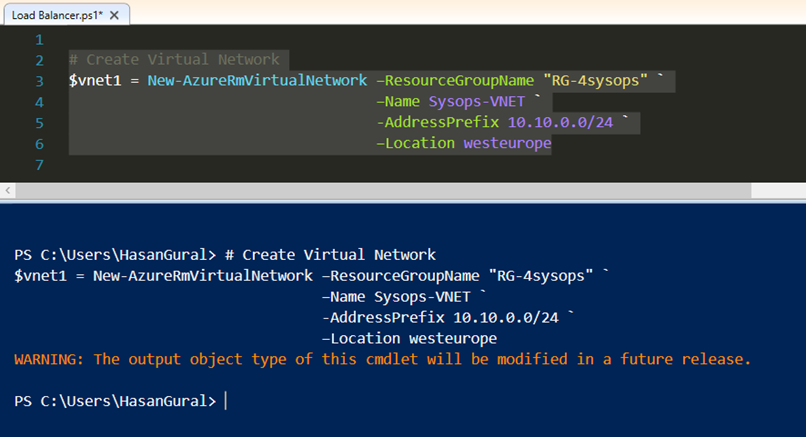
 Create a new VNet named "Sysops-VNET", assign an address space (in this example 10.10.10.0/24), and store a reference to the new virtual network in the $vnet variable
# Create Virtual Network $vnet1 = New-AzureRmVirtualNetwork –ResourceGroupName "RG-4sysops" ` –Name Sysops-VNET ` -AddressPrefix 10.10.0.0/24 ` –Location westeurope
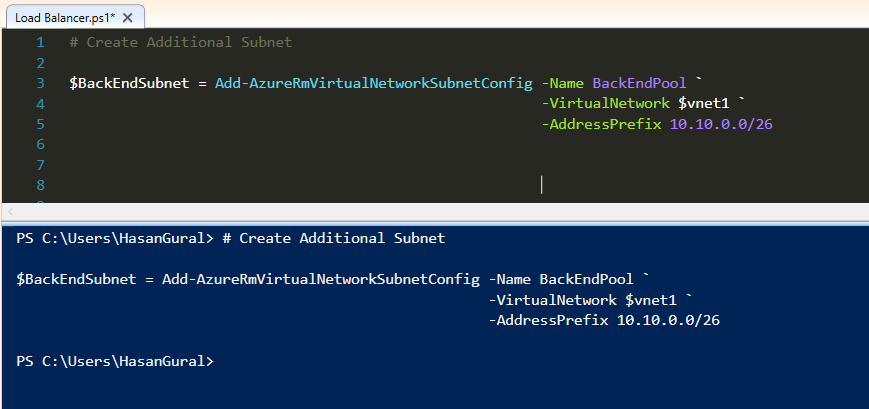
 Now, if you may want, you can create additional subnet in same Virtual Network. I have just created subnet in the "Sysops-VNET"
# Create Additional Subnet $BackendSubnet = Add-AzureRmVirtualNetworkSubnetConfig -Name BackEndPool ` -VirtualNetwork $vnet1 ` -AddressPrefix 10.10.0.0/26
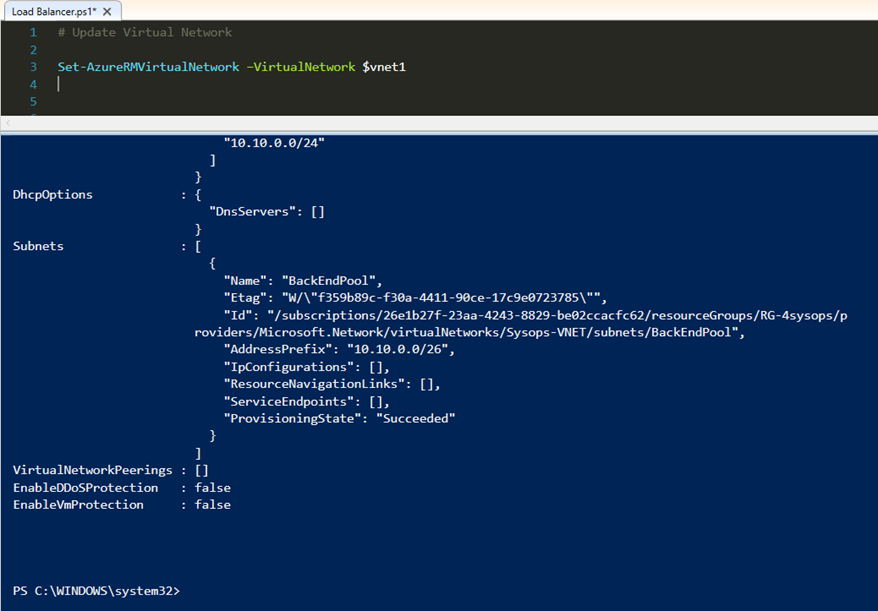
 You have to update configuration when you create additional subnets in VNET. We will be use "Set-AzureRMVirtualNetwork" for update process.
# Update Virtual Network Set-AzureRMVirtualNetwork –VirtualNetwork $vnet1
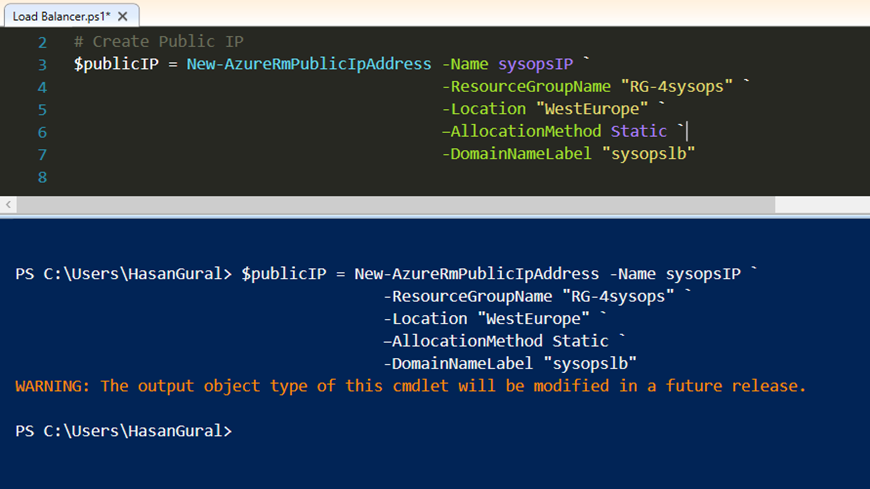
Create an Azure Public IP address resource named "sysops-IP", to be used by a front-end IP pool
# Create Public IP $publicIP = New-AzureRmPublicIpAddress -Name sysopsIP ` -ResourceGroupName "RG-4sysops" ` -Location "WestEurope" ` –AllocationMethod Static ` -DomainNameLabel "sysopslb"
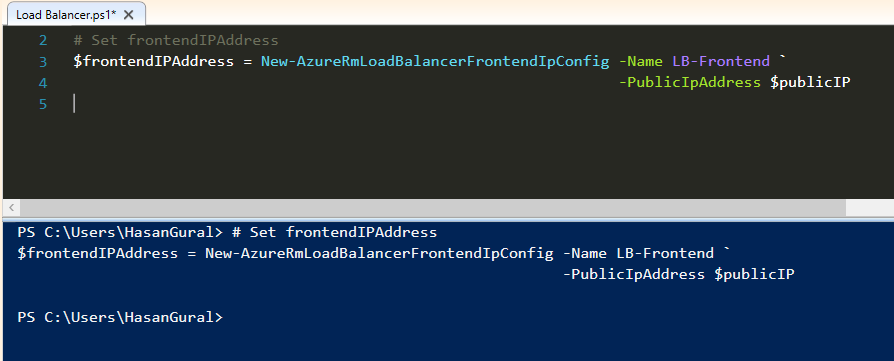
 Create a front-end IP configuration named LB-Frontend, that uses the Public IP address, and the store the value in the variable $frontendIPAddress
# Set frontendIPAddress $frontendIPAddress = New-AzureRmLoadBalancerFrontendIpConfig -Name LB-Frontend ` -PublicIpAddress $publicIP
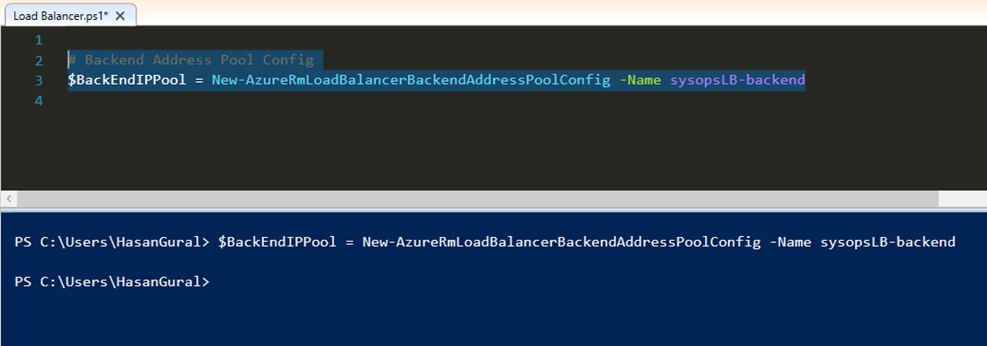
 Create a back-end address pool named sysopsLB-backend, and then store the value in the variable
# Backend Address Pool Config $BackEndIPPool = New-AzureRmLoadBalancerBackendAddressPoolConfig -Name sysopsLB-backend
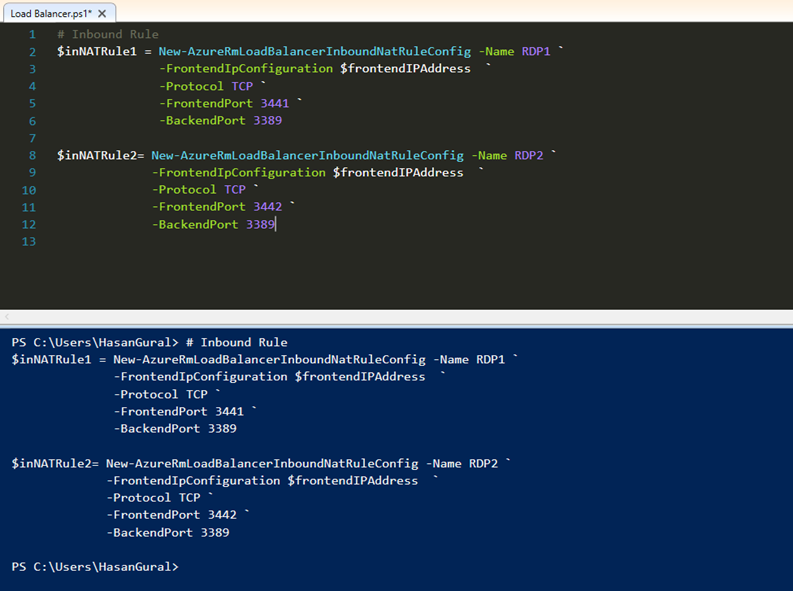
 Create the NAT rules that will redirect all incoming traffic on port 3441 and 3442 to port 3389 on back-end VMs.
# Inbound Rule $inNATRule1 = New-AzureRmLoadBalancerInboundNatRuleConfig -Name RDP1 ` -FrontendIpConfiguration $frontendIPAddress ` -Protocol TCP ` -FrontendPort 3441 ` -BackendPort 3389
$inNATRule2= New-AzureRmLoadBalancerInboundNatRuleConfig -Name RDP2 ` -FrontendIpConfiguration $frontendIPAddress ` -Protocol TCP ` -FrontendPort 3442 ` -BackendPort 3389
Create a health probe that will check the health status on a page named HealthDemo.aspx:
# Probe Rule
$healthProbe = New-AzureRmLoadBalancerProbeConfig -Name HealthProbe ` -RequestPath 'HealthDemo.aspx' ` -Protocol http ` -Port 80 ` -IntervalInSeconds 15 ` -ProbeCount 2
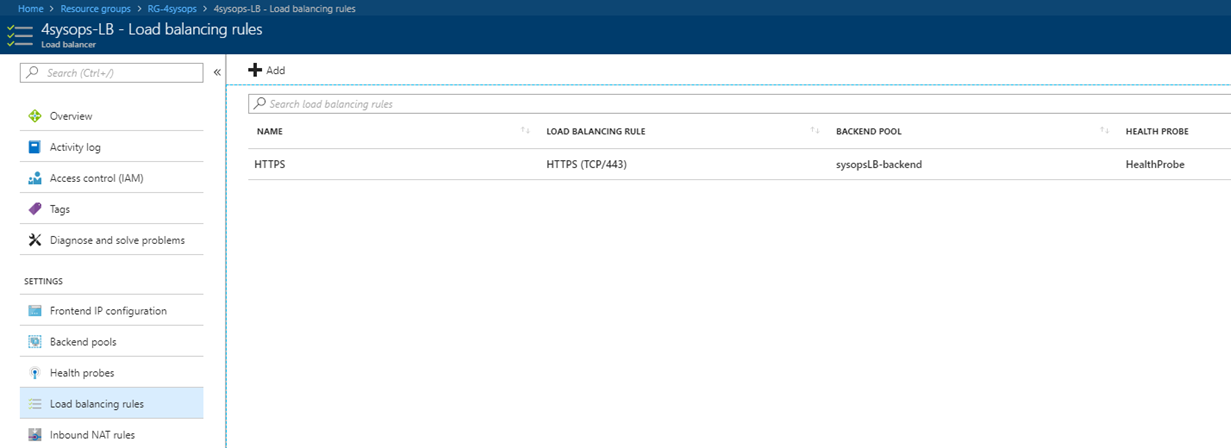
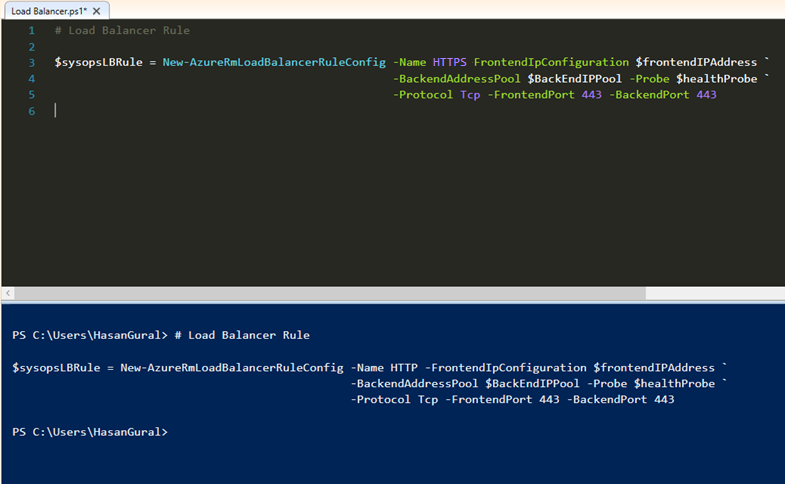
 Create the load-balancer rule to balance all incoming traffic on port 443 to the back-end port 443 on the addresses in the back-end pool
# Load Balancer Rule
$sysopsLBRule = New-AzureRmLoadBalancerRuleConfig -Name HTTPS -FrontendIpConfiguration $frontendIPAddress ` -BackendAddressPool $BackEndIPPool -Probe $healthProbe ` -Protocol Tcp -FrontendPort 443 -BackendPort 443
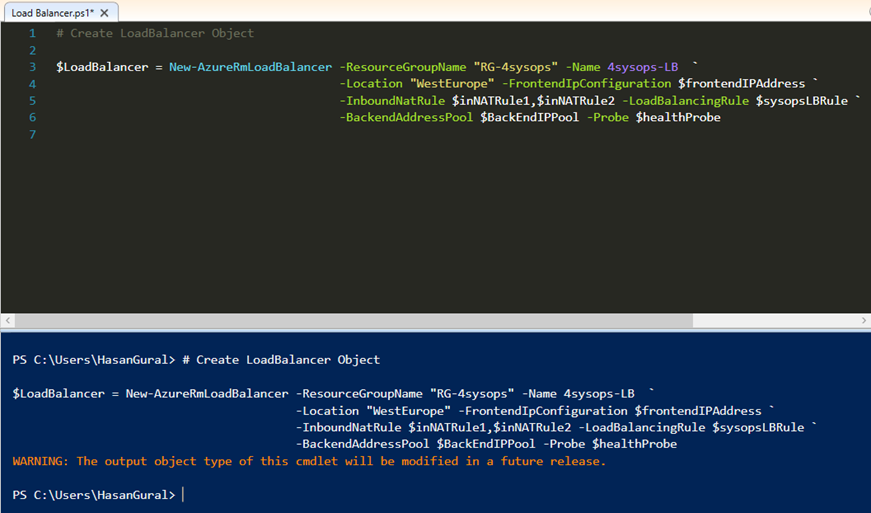
Create load balancer named sysopsLB that will use previously configured rules
# Create LoadBalancer Object
$LoadBalancer = New-AzureRmLoadBalancer -ResourceGroupName "RG-4sysops" -Name 4sysops-LB ` -Location "WestEurope" -FrontendIpConfiguration $frontendIPAddress ` -InboundNatRule $inNATRule1,$inNATRule2 -LoadBalancingRule $sysopsLBRule ` -BackendAddressPool $BackEndIPPool -Probe $healthProbe
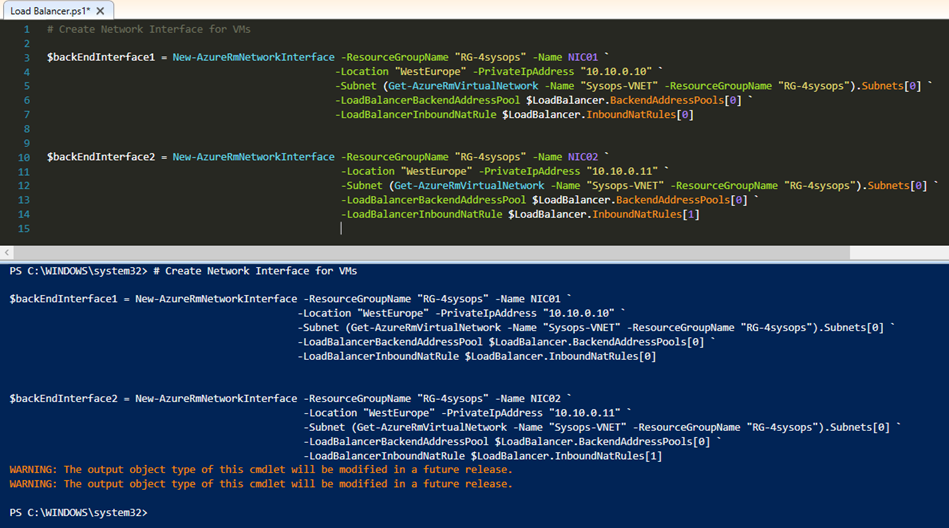
 We are now creating NICs and configure a back-end IP address pool.
# Create Network Interface for VMs
$backEndInterface1 = New-AzureRmNetworkInterface -ResourceGroupName "RG-4sysops" -Name NIC01 ` -Location "WestEurope" -PrivateIpAddress "10.10.0.10" ` -Subnet (Get-AzureRmVirtualNetwork -Name "Sysops-VNET" -ResourceGroupName "RG-4sysops").Subnets[0] ` -LoadBalancerBackendAddressPool $LoadBalancer.BackendAddressPools[0] ` -LoadBalancerInboundNatRule $LoadBalancer.InboundNatRules[0]
$backEndInterface2 = New-AzureRmNetworkInterface -ResourceGroupName "RG-4sysops" -Name NIC02 ` -Location "WestEurope" -PrivateIpAddress "10.10.0.11" ` -Subnet (Get-AzureRmVirtualNetwork -Name "Sysops-VNET" -ResourceGroupName "RG-4sysops").Subnets[0] ` -LoadBalancerBackendAddressPool $LoadBalancer.BackendAddressPools[0] ` -LoadBalancerInboundNatRule $LoadBalancer.InboundNatRules[1]
 Now, you can see your resources in Resource Group on the Azure Portal what we have created.