Global Azure 2026 Istanbul is done and it was a great event. Here's the recording and a quick recap of my session on GitHub Copilot Agent Skills: Automating Cloud Workflows.
Session Recording
The full recording is now available. Watch it below:

Global Azure 2026 Istanbul is done and it was a great event. Here's the recording and a quick recap of my session on GitHub Copilot Agent Skills: Automating Cloud Workflows.
The full recording is now available. Watch it below:
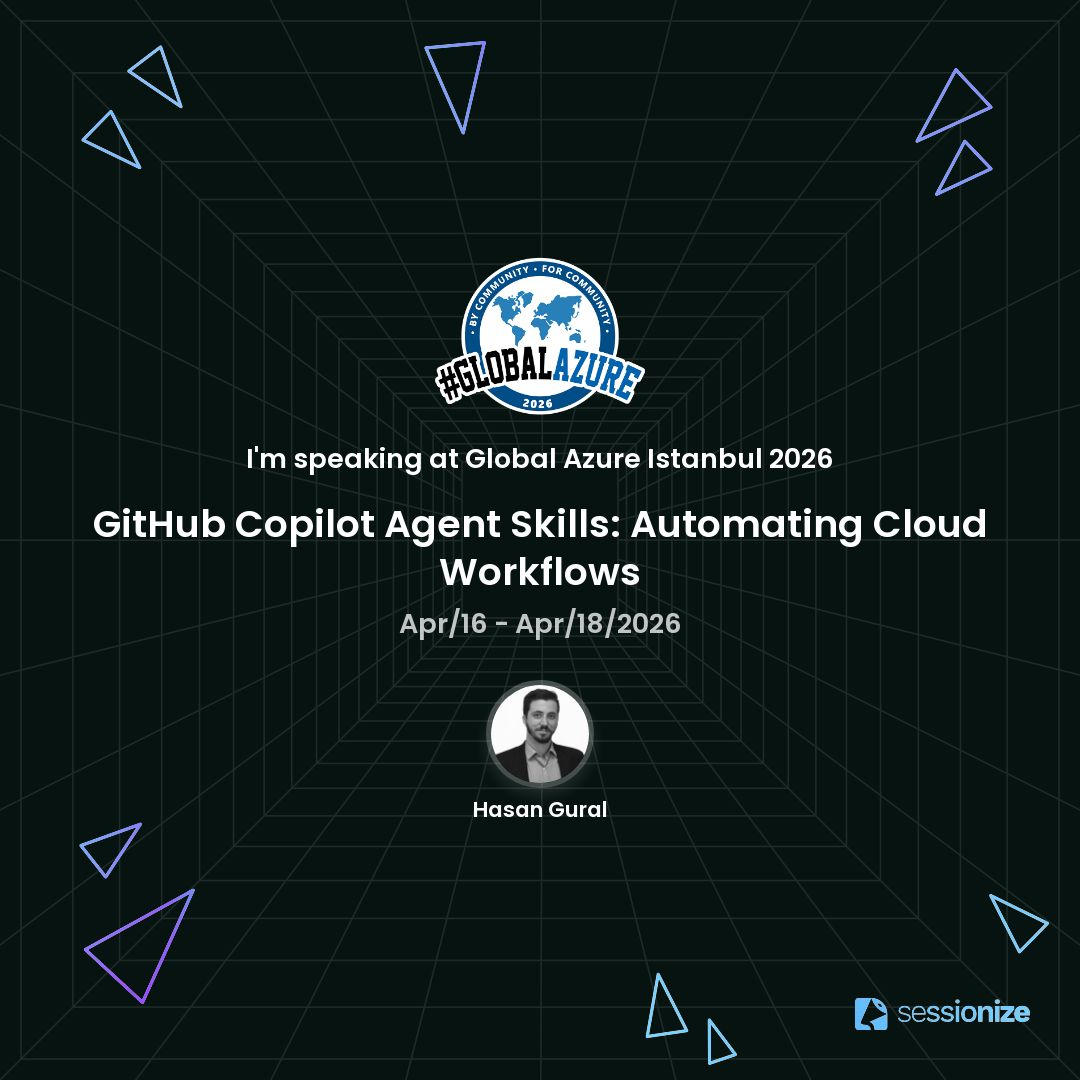
I'll be taking the stage at Global Azure 2026 Istanbul to present a session on GitHub Copilot Agent Skills: Automating Cloud Workflows.
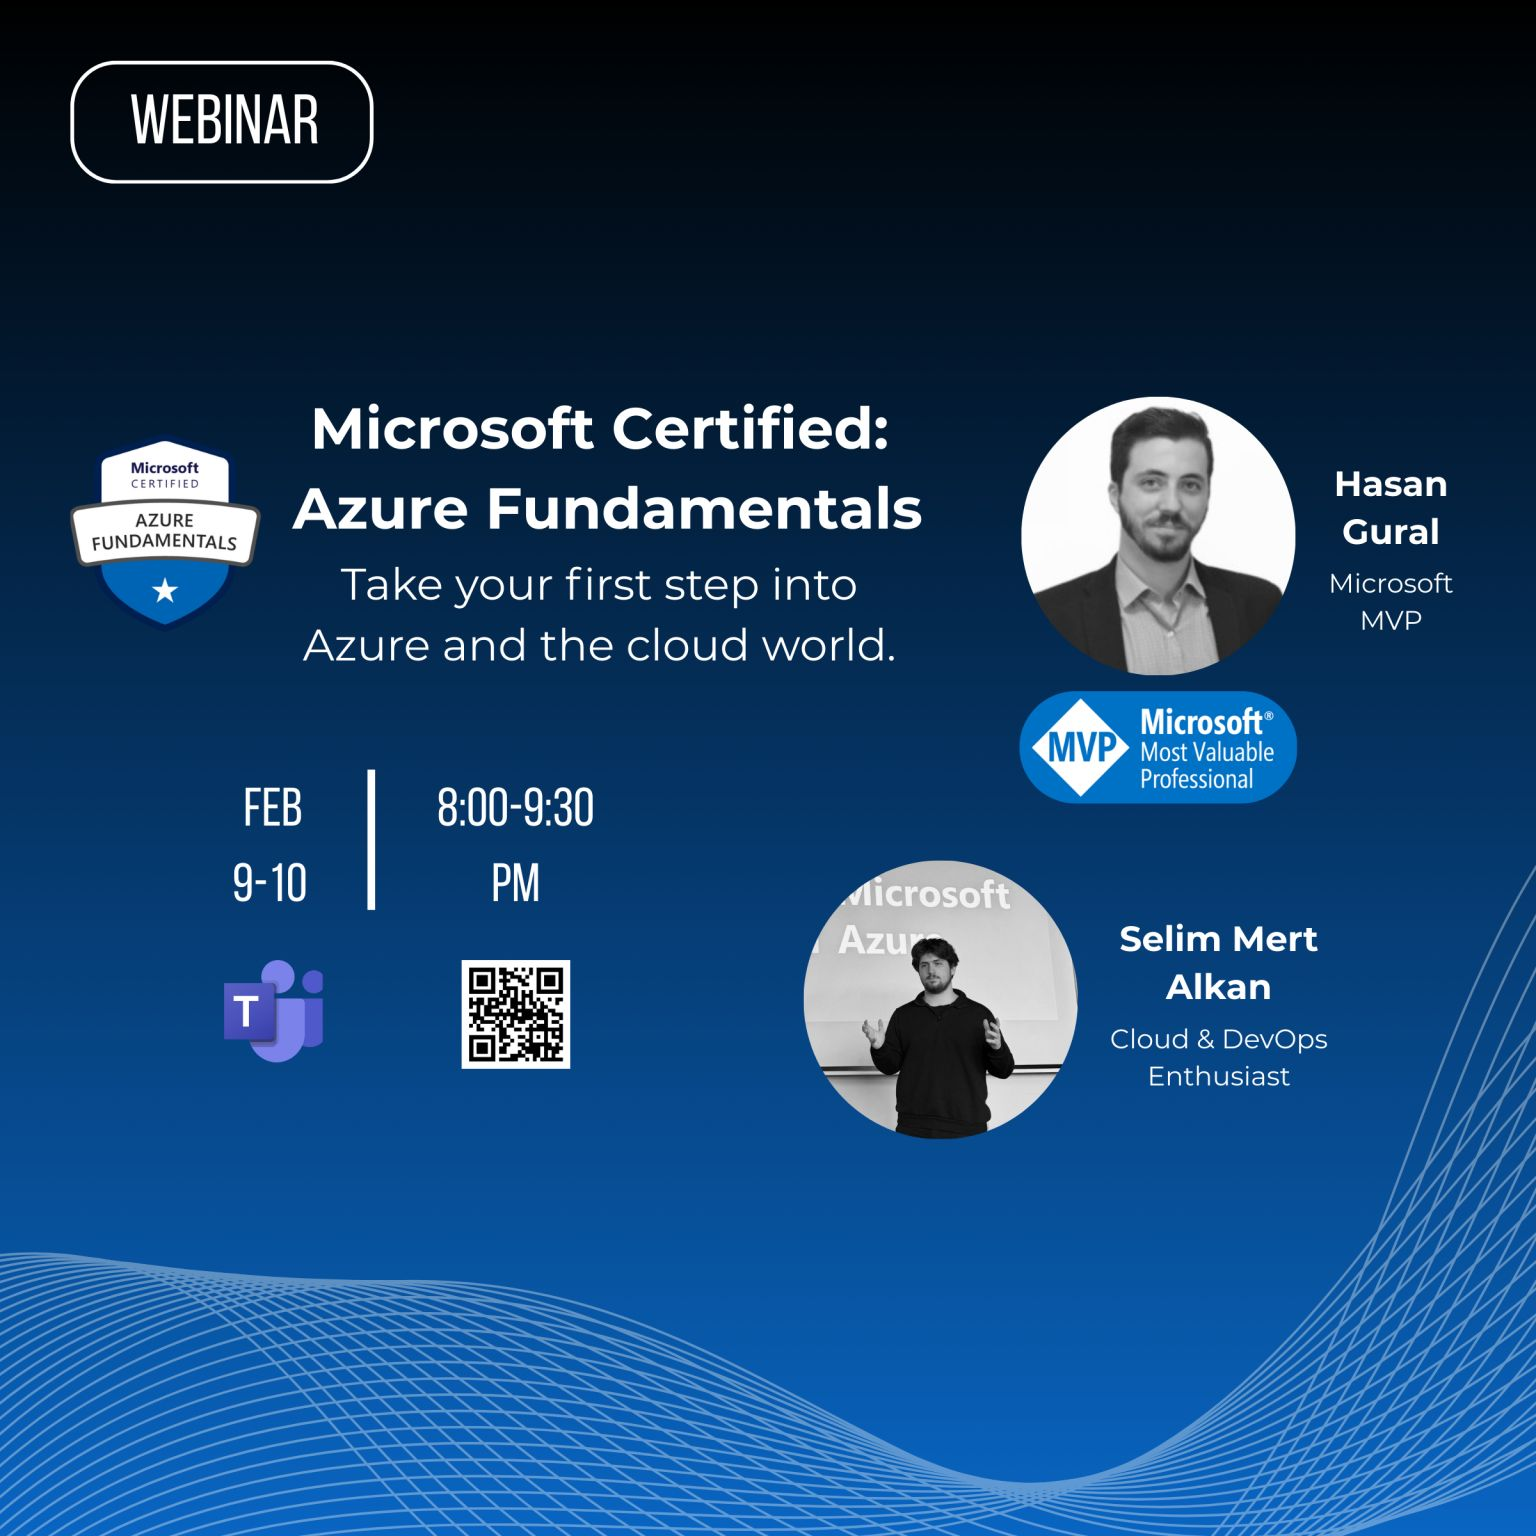
I’m pleased to announce an upcoming community-led training: Community Azure Fundamentals - 2 Day Course. This course is organized by one of our students to support other students and anyone starting their Azure journey a friendly, practical introduction to Azure that’s perfect for beginners.
Welcome back, Friend!
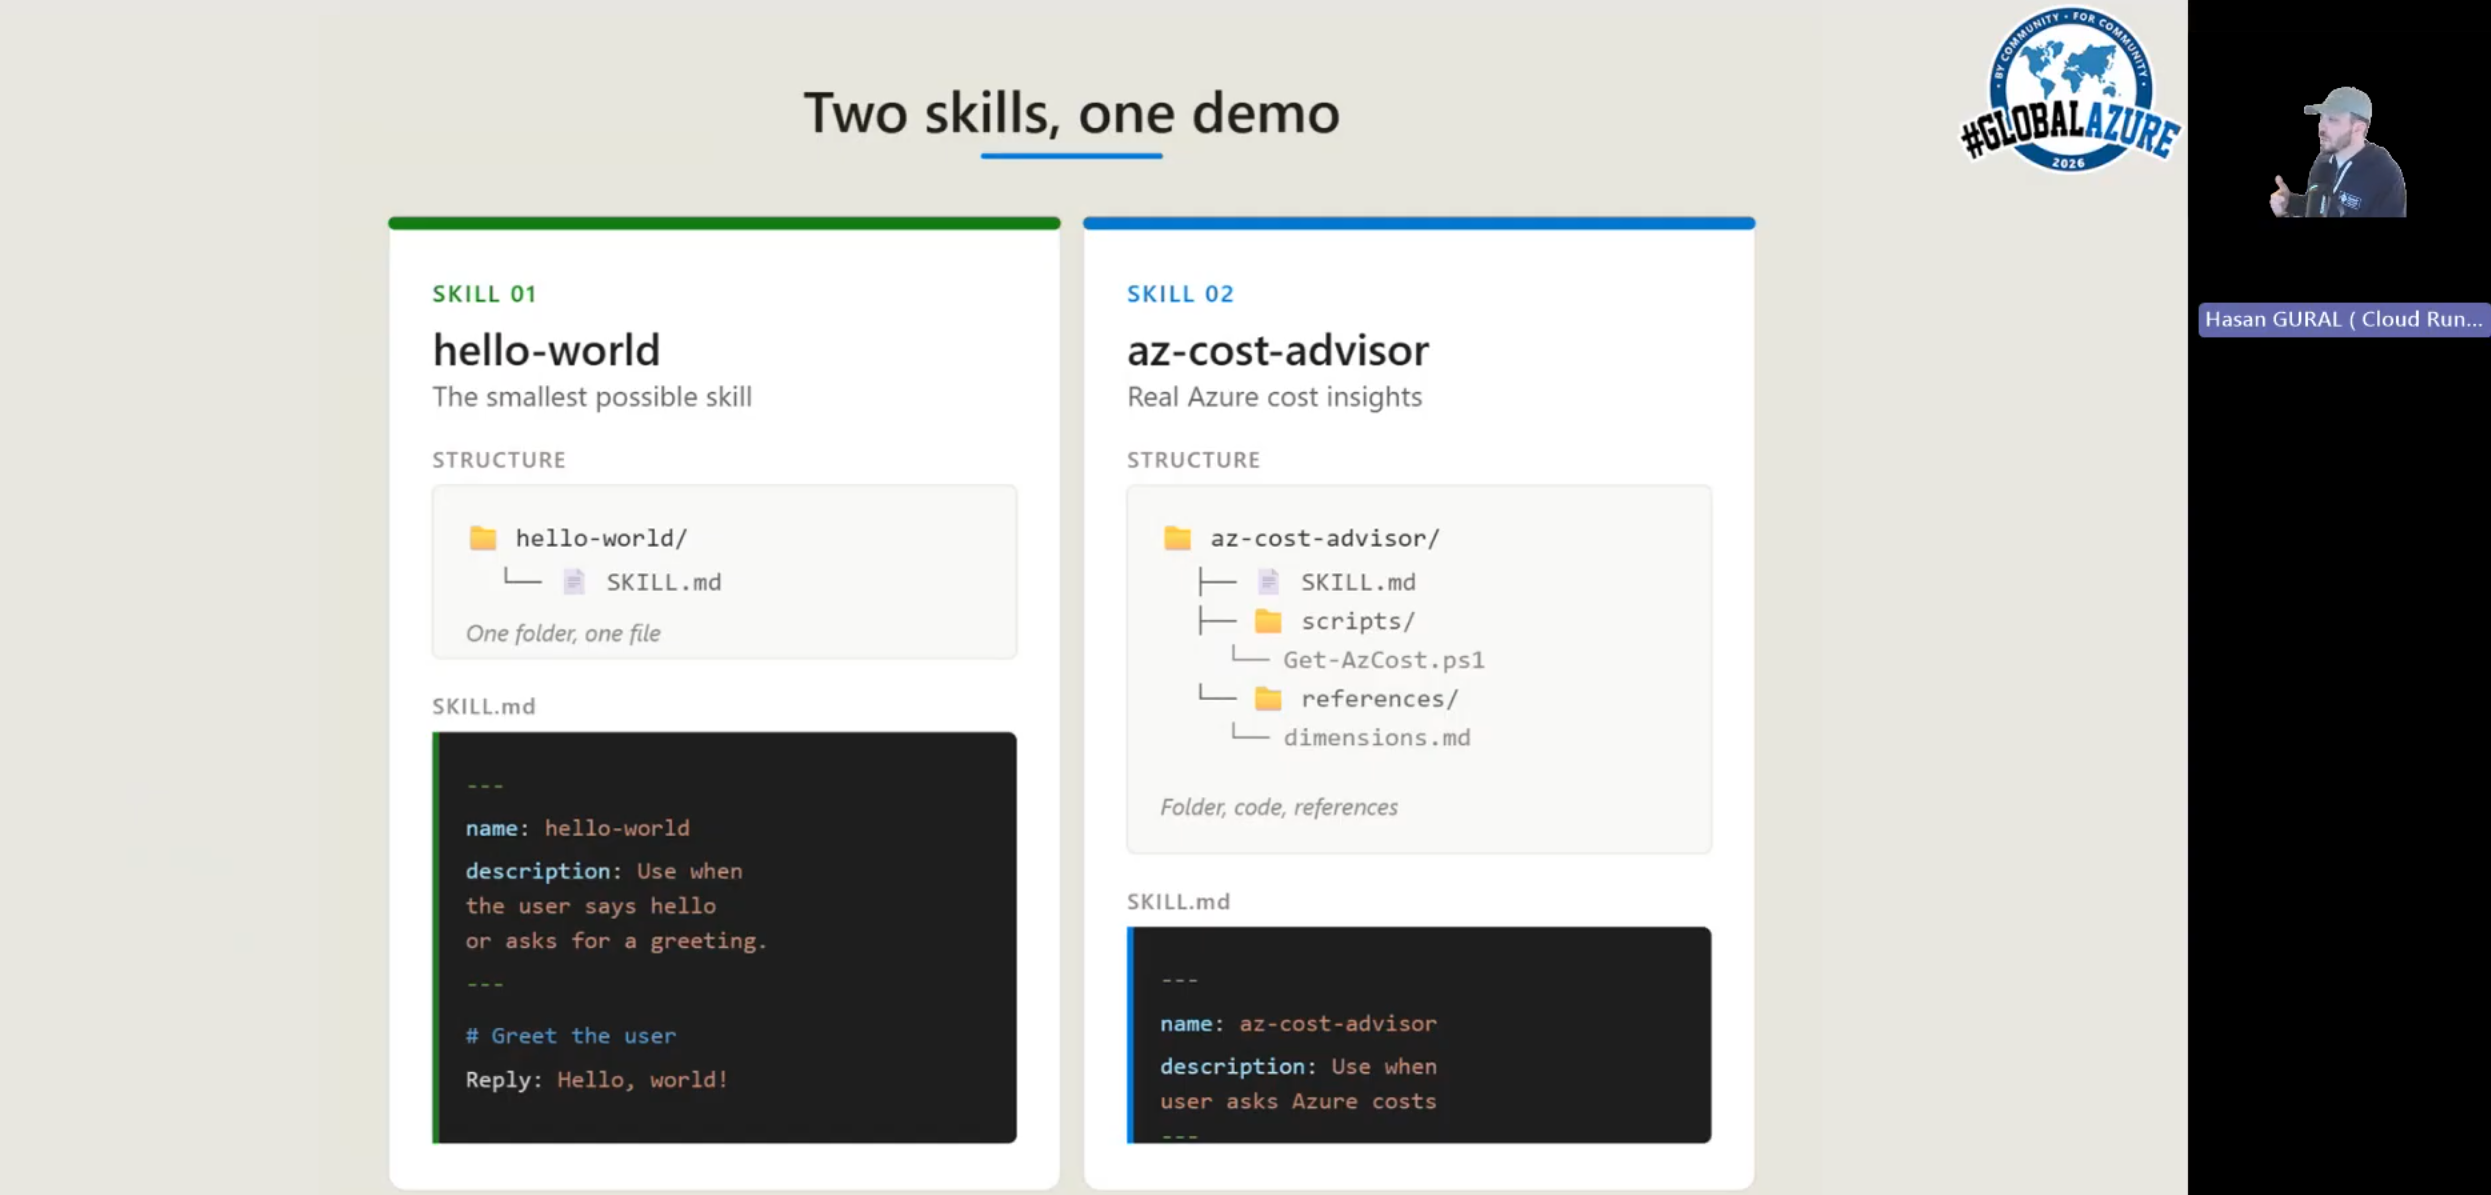
In Part 1, we introduced GitHub Copilot Agent Skills, what they are, why they are useful for Azure operations, and what problem we are trying to solve with the PIM Advisor. We also set up the project structure and walked through the two core components: the rolesMapping.psd1 data file that defines which subscriptions, roles, and principals are permitted, and the activateAzResourcePimRole.ps1 script that handles the actual PIM activation through the Azure Resource PIM API.
In this part, we will complete the setup by writing the SKILL.md definition that makes everything available to Copilot in agent mode, understand how Copilot resolves natural language to script parameters, and test the full activation flow from a Copilot chat prompt. Think about this as the workflow definition that is going to respect the logic we implemented in the script and the mapping file, but from a natural language interface.
Hello Friends,
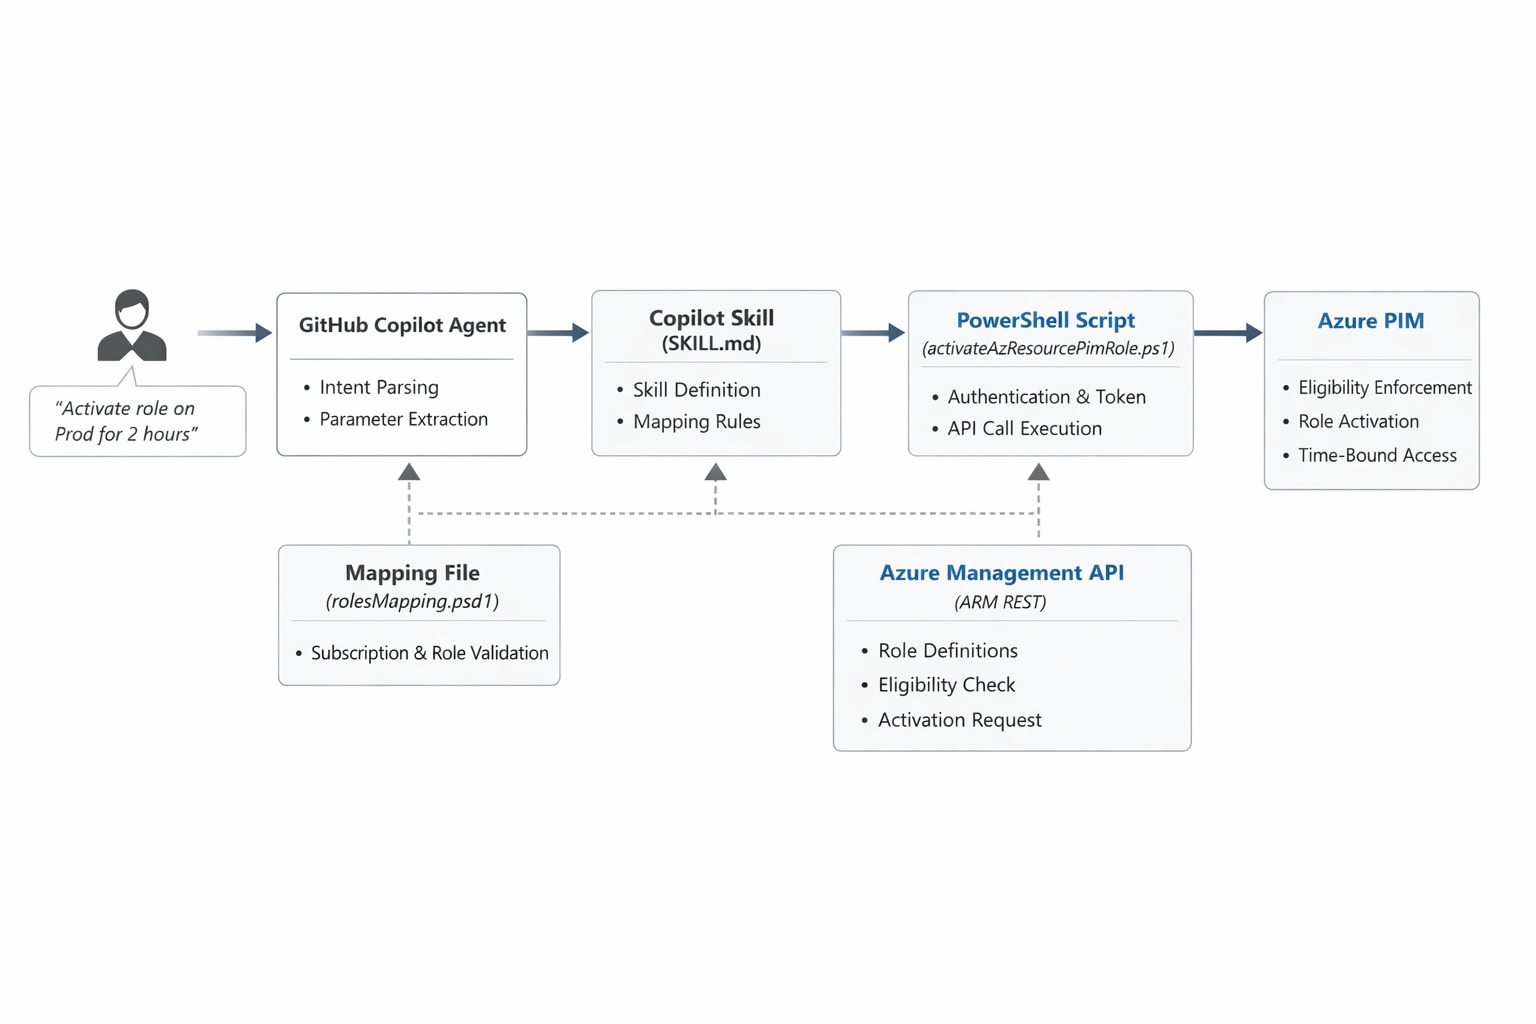
In this two-part series, I want to share a practical use case for GitHub Copilot Agent Skills, and it is something I have been exploring recently and find genuinely useful for day-to-day Azure operations. The idea is simple and following: instead of navigating the Azure portal to raise a Privileged Identity Management (PIM) request to cover your day to day operation for overarching tasks, you just ask Copilot in plain language, and it takes care of the rest.
Before getting into the implementation, let me quickly explain what Copilot Agent Skills are and why they are worth your attention.
Hello Friends,
In Part 1 of this series, we covered how Azure Firewall autoscaling works by default, what prescaling is, how to configure it through the portal, PowerShell, and Bicep, and what the billing and limitations look like. In this second part, I want to go deeper on the operational side: how prescaling actually behaves under load, what the Observed Capacity Metric tells you and how to use it for planning and validation, and the real-world scenarios where prescaling genuinely makes the difference between smooth traffic ramps and avoidable performance degradation.
The goal here is practical. By the end of this article you should be able to look at your own Observed Capacity data, understand what it is telling you, identify the workload patterns where prescaling makes the biggest difference, and build a monitoring and alerting strategy around it.
Hello Friends,
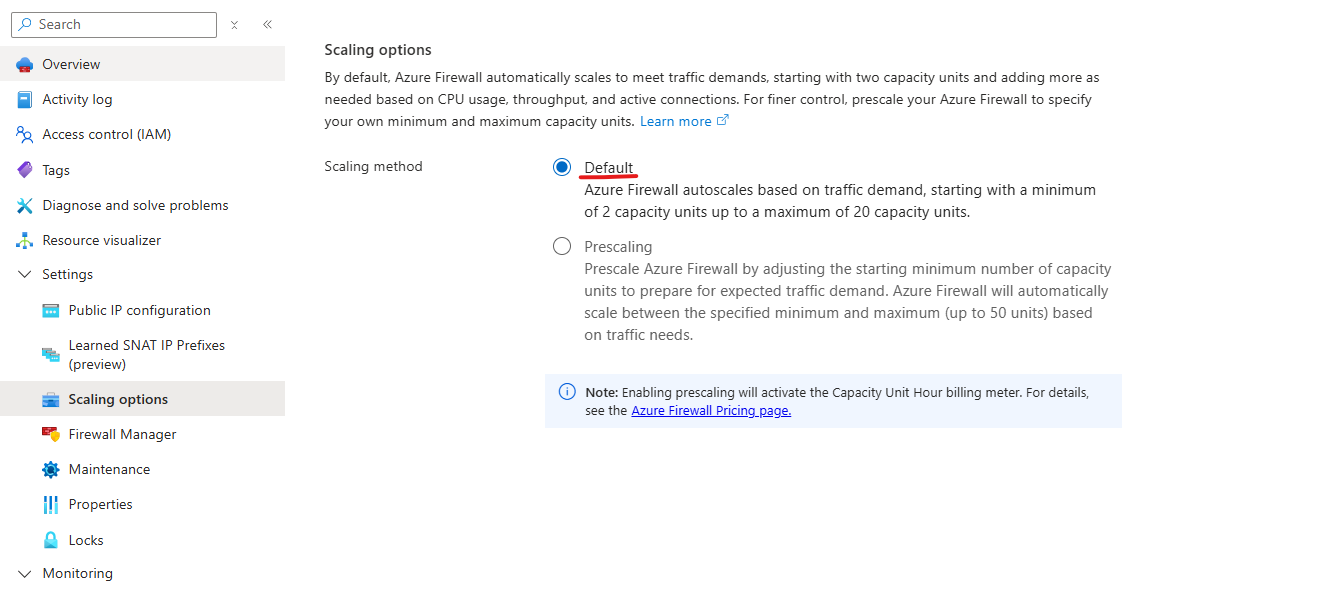
In this two-part series I want to talk about a feature that I think is genuinely underused in production Azure environments: Azure Firewall Prescaling. It is one of those things that becomes very obvious once you understand the mechanics behind it, and the good news is that it is not complicated to set up. The hard part is knowing when and why you need it.
In this first part, We will walk through how Azure Firewall autoscaling works by default, what prescaling is, how to configure it, and what the billing and limitations look like. In Part 2 we will go deeper on the Observed Capacity Metric, real-world scenarios where prescaling makes the biggest difference, and how to build a proactive monitoring and alerting strategy around it.
Hello Friends,
Welcome back to the Part 4. In the first three parts of this series, we built a complete pipeline: Part 1 explained the security problem and why tenant visibility matters, Part 2 showed the PowerShell technique for resolving storage FQDNs to tenant IDs using the WWW-Authenticate header, and Part 3 connected Azure Firewall logs through KQL queries to feed that script automatically.
The pipeline we have so far produces a report with an FQDN, a tenant ID, and an IsOwnTenant flag. That is useful, but it leaves two practical gaps. First, tenant IDs are GUIDs: machine-readable, but not something a security team can act on. When a report tells you that eight storage accounts belong to an unknown tenant, you want a name, not a GUID. Second, the report is a manual one-time snapshot. In practice, you want something that flags new unknown tenants as they appear in your firewall traffic without anyone having to remember to run a script.
Hello Friends, Welcome back to the Part 3. In Part 1, We covered the security concern behind broad outbound firewall rules and explained why tenant visibility matters. In Part 2, We have walked through the PowerShell script that takes a list of storage FQDNs and resolves each one to a tenant ID using the WWW-Authenticate header trick.
The script is ready. The missing piece is the list itself. In a real environment you are not going to type out FQDNs with your hands; you are going to pull them from Azure Firewall logs. That is what this part covers. I will walk through both Azure Firewall log formats, show the KQL queries I use to extract storage FQDNs from each, and then connect the output directly to the script so the full pipeline runs end to end.
Hello Friends,
Welcome back to the Part 2 of this series. In Part 1, we walked through the security concern behind broad outbound firewall rules that allow access to any Azure Storage account, and explained why FQDNs visible in Azure Firewall logs do not tell you anything about tenant ownership. I also outlined the plan: extract storage FQDNs from your firewall logs, generate controlled traffic to each one, and use the HTTP response to extract a tenant ID that can be mapped to an owner.
In this part, we will go deeper into the actual mechanics. I will show you exactly how the tenant ID discovery technique works under the hood, walk through the PowerShell scripts that I have built, and then we will move into Azure Firewall logs with some KQL queries that will help you get from raw log data to a clean list of FQDNs ready for analysis.