I'm excited to announce that, continuing my journey since 2017, I will be speaking at the Azure Global Bootcamp 2025 on May 8- 10. This year, I’m eager to share more insights and learnings with the Azure community. Join me as we dive into the latest Azure advancements and tackle current tech challenges together.
18 posts tagged with "Bicep"
View All TagsBuilding an AI Agent for Azure Policy Assistant - Part 2
Welcome back, Friend!
In the previous article, we covered setting up the necessary resources for the AI Agent for Azure Policy Governance Assistant. Now, we will proceed with the final steps to complete and test the AI Agent:
- Create the AI Agent using the Azure AI Foundry UI or PowerShell.
- Develop and provide an example KQL query for retrieving compliance data.
- Execute the KQL query and upload the results to the AI Agent’s Knowledge.
- Test the AI Agent to ensure it accurately responds to policy compliance queries.
Building an AI Agent for Azure Policy Assistant - Part 1
Hello Friend,
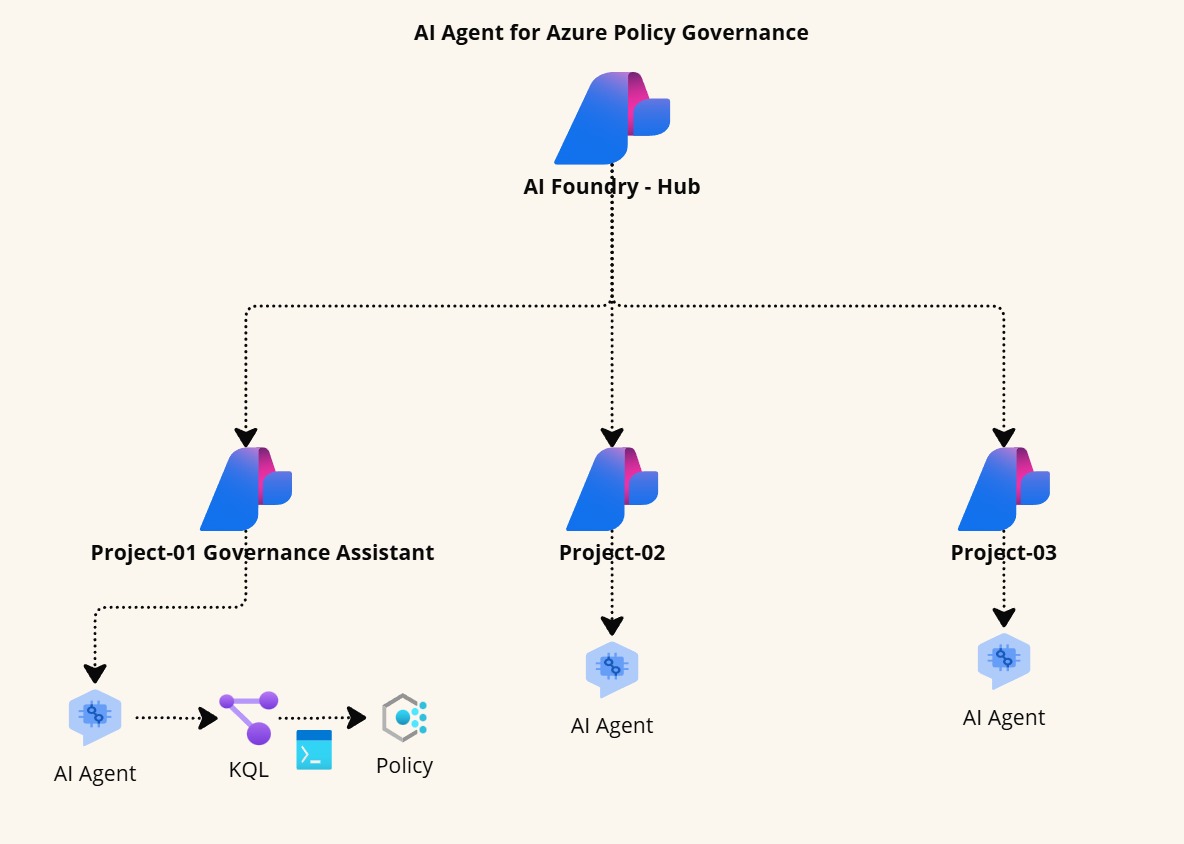
Today, I’m going to build a quick-win solution called the AI Agent for Azure Policy Governance Assistant. This AI Agent is meant to help you rapidly identify non-compliant policies and improve governance across your Azure subscriptions or resource groups. Imagine that being able to ask the AI Agent questions like, "Which resources are non-compliant?" or "Which exemptions are about to expire within my subscription scope?" In this article, I’ll walk you through setting up the necessary resources using PowerShell scripts, and then show you how to integrate them with an AI Agent for actionable governance insights.
Reading Bicep parameter files with PowerShell
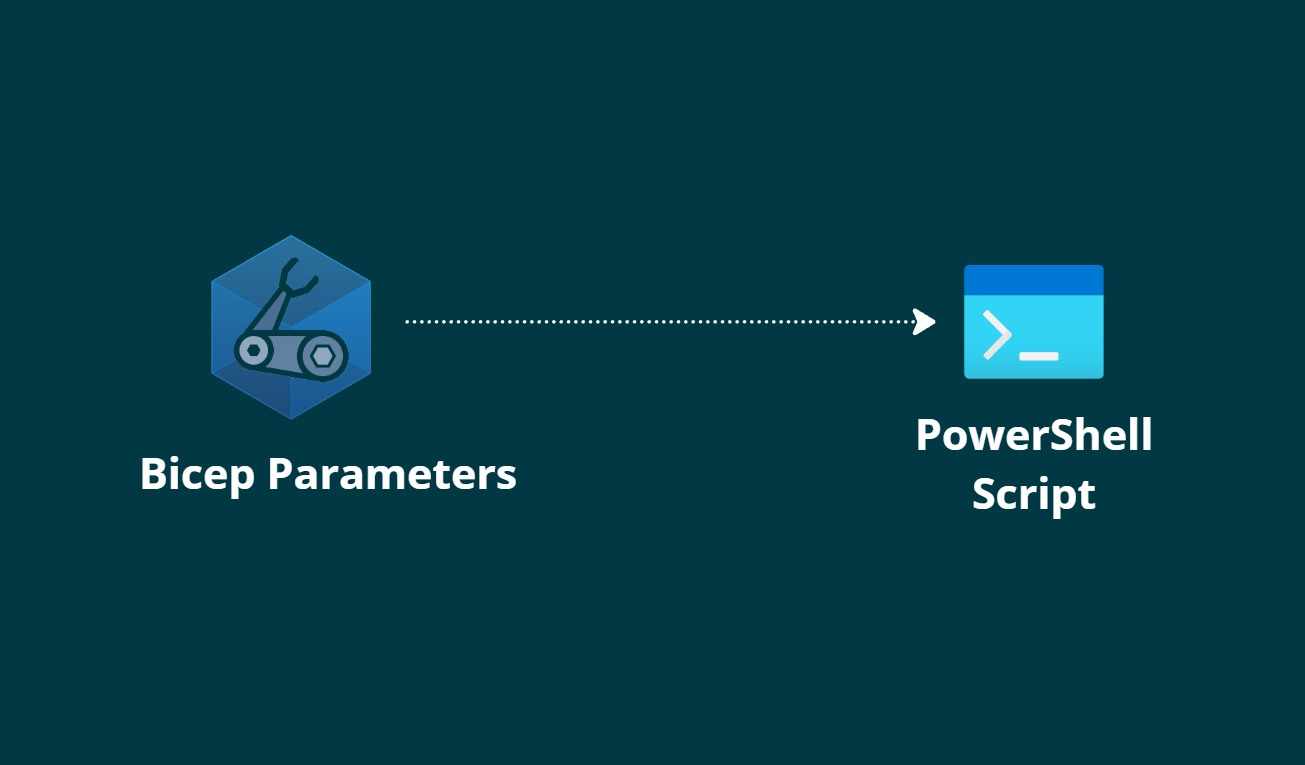
Bicep parameter files allow you to define values in an individual file that are then passed to your main Bicep Templates file. The parameter file exposes values that may change from a given subscription, environment, and/or region. Leveraging a parameter file drives consistency in your IaC deployments while providing flexibility. For example, an organization can use these files to right-size nonproduction environments to save costs while maintaining the same core infrastructure across all deployments.
In addition, these parameter files streamline the CI/CD deployment process. Since each parameter file is under source control and passed into the appropriate automated deployment steps, they ensure a consistent and repeatable deployment experience. In this article, we will explore how to create, read, and use a Bicep parameters file via PowerShell.
Leveraging Bicep deployer for Automated RBAC Assignments
Hello Folks,
Today, I'll go through a topic that I believe is a real time-saver—one that keeps automation running smoothly and ensures it's effectively integrated into bicep templates. In this article, I'll share my experience with the Bicep deployer() function. I’ll explain how it streamlines the process of provisioning resources like Azure Key Vaults while automating RBAC-based access.
What Is the deployer Function?
The deployer() function in Bicep returns details about the identity executing the deployment. Essentially, it tells you which service principal or managed identity is running your deployment. I find this incredibly useful because it allows me to reference the deployer’s identity directly in my templates—ensuring that the correct permissions are automatically applied without hardcoding any object IDs for the deployments.
Example output of the deployer() function looks like this:
{
"objectId": "12345678-1234-1234-1234-123456789abc",
"tenantId": "87654321-4321-4321-4321-cba987654321"
}
Global Azure 2024 - Istanbul | Session Recording Available!
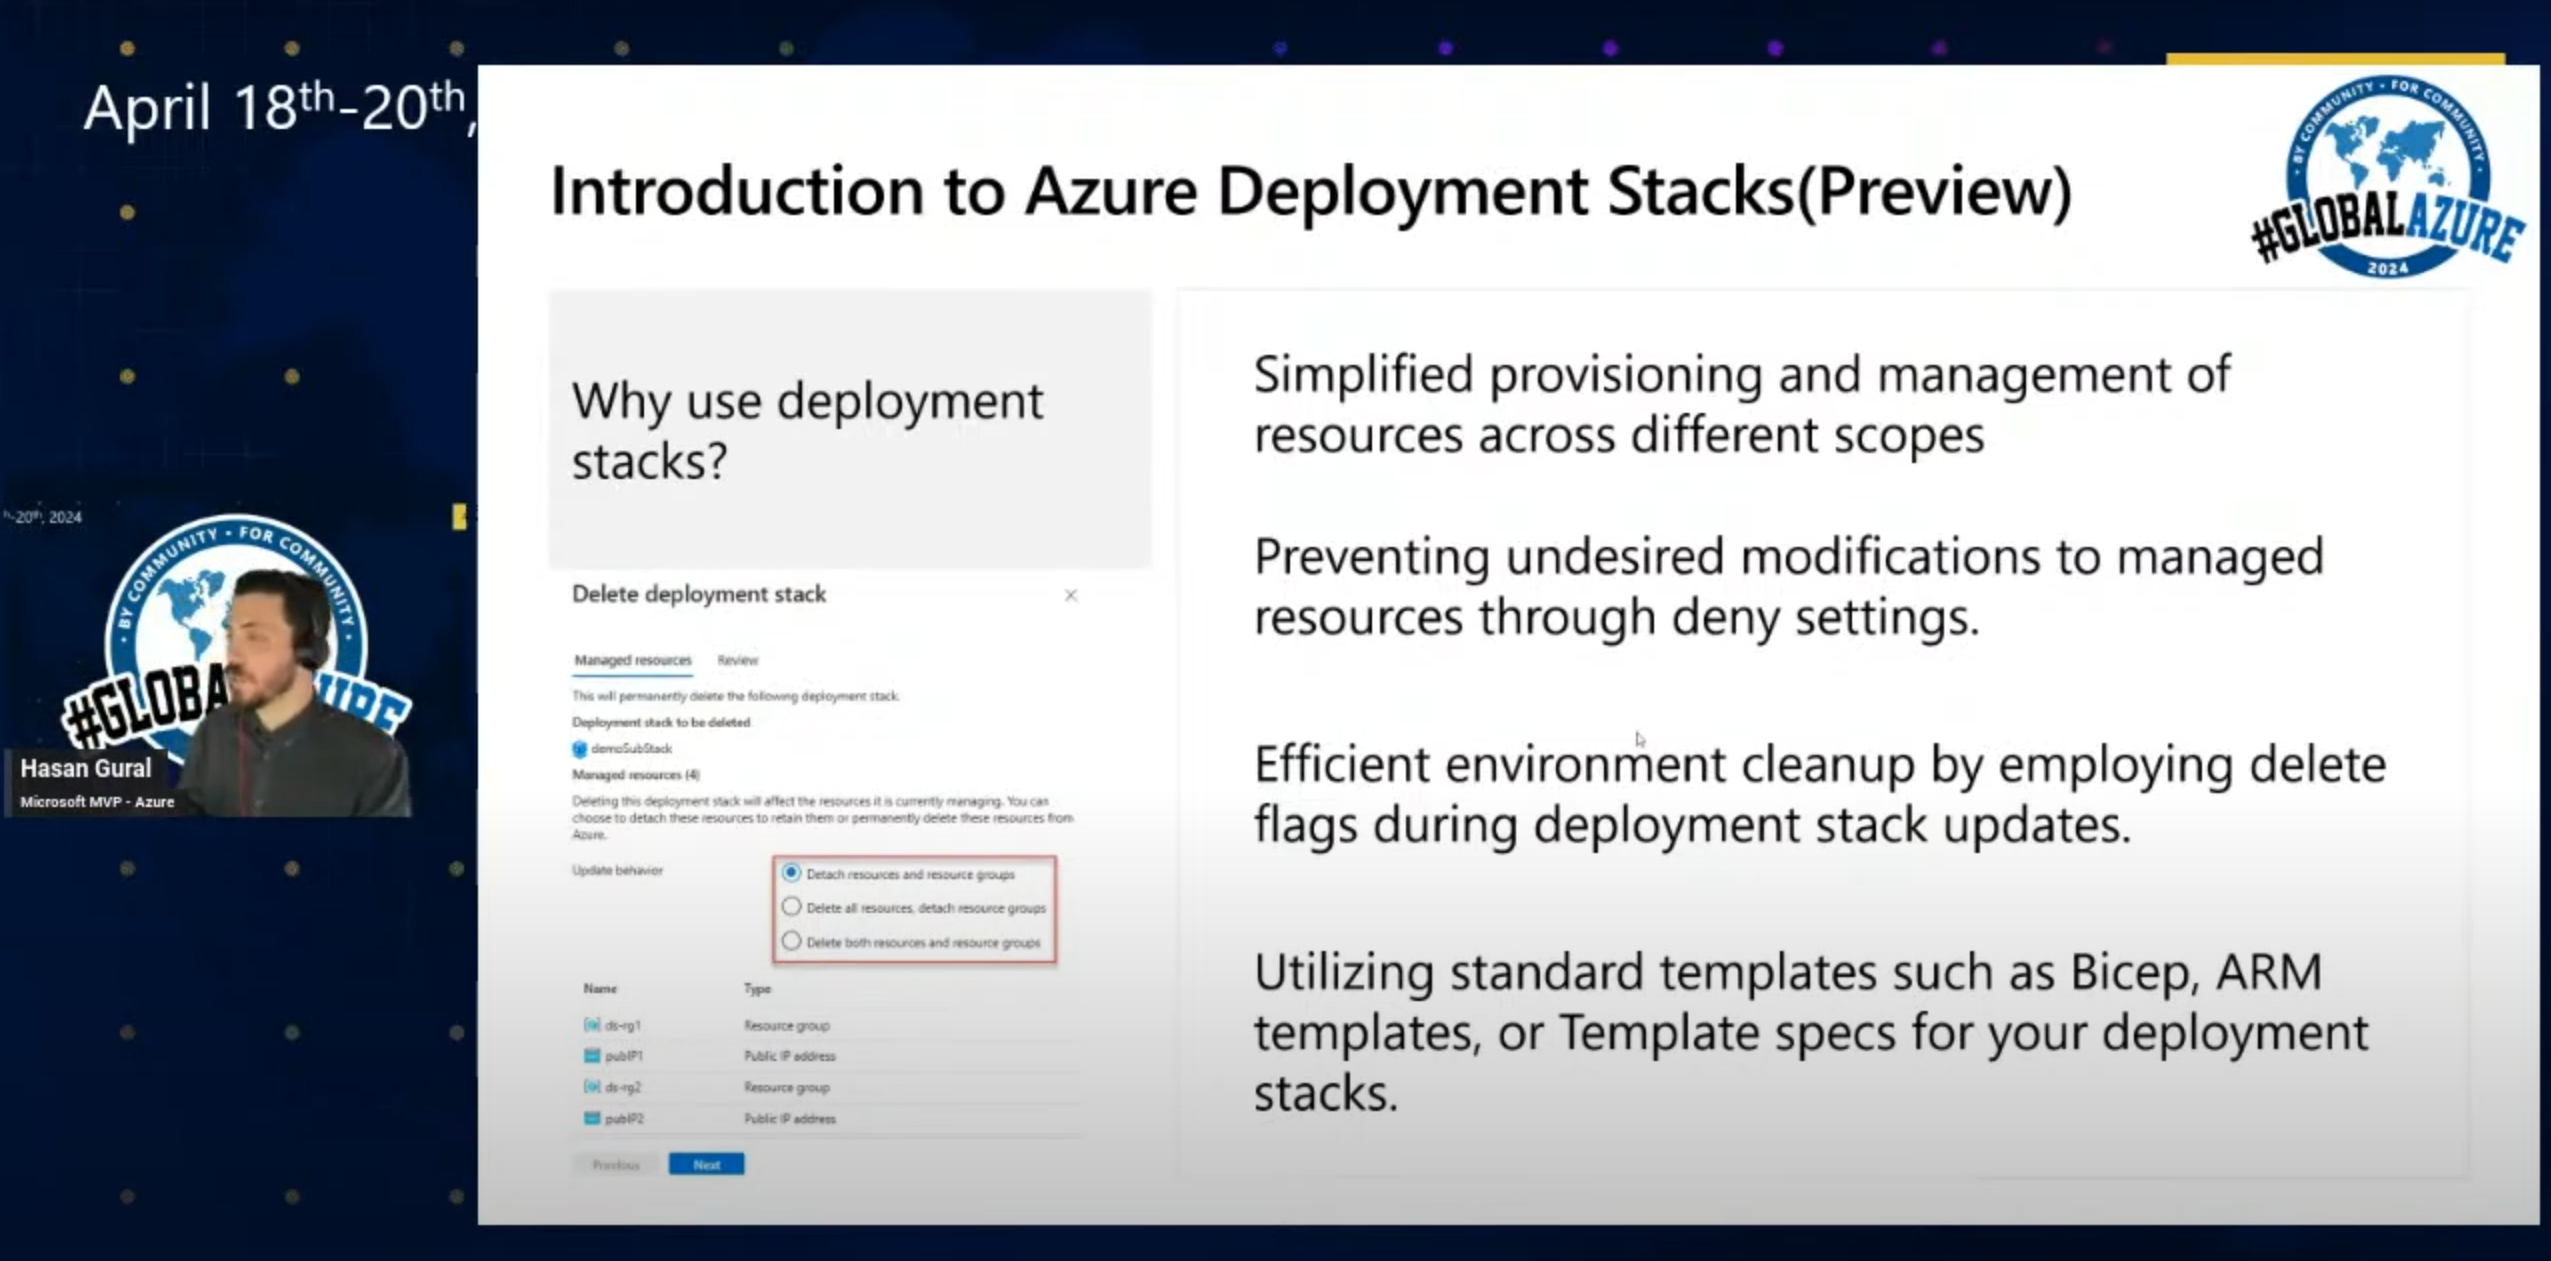
Following an amazing session at Global Azure 2024 - Istanbul, I’m happy to share the recording of my talk, "Deployment stack with Bicep – Insights and Experiences". Whether you attended live or couldn’t make it, you can now watch the full session at your convenience.
🎥 Watch the Recording Here:
Global Azure 2024 - Istanbul
I'm excited to announce that, continuing my journey since 2017, I will be speaking at the Azure Global Bootcamp 2024 on April 18-20. This year, I’m eager to share more insights and learnings with the Azure community. Join me as we dive into the latest Azure advancements and tackle current tech challenges together.
Terraform in GitHub Codespaces
I really like the idea of GitHub Codespaces. It is a cloud-based development environment that you can access from anywhere. This approach allows you to develop applications without the need for installing or configuring dependent services or tools locally, providing developers with a uniform method for working on applications and scripts.
Given my passion for Infrastructure as Code (IaC), I wanted to show how I could use GitHub Codespaces to work with Terraform. Before we start, let's take a look at the prerequisites:
- A GitHub account
- You can start with a free account with 60 hours of usage per month for GitHub Codespaces
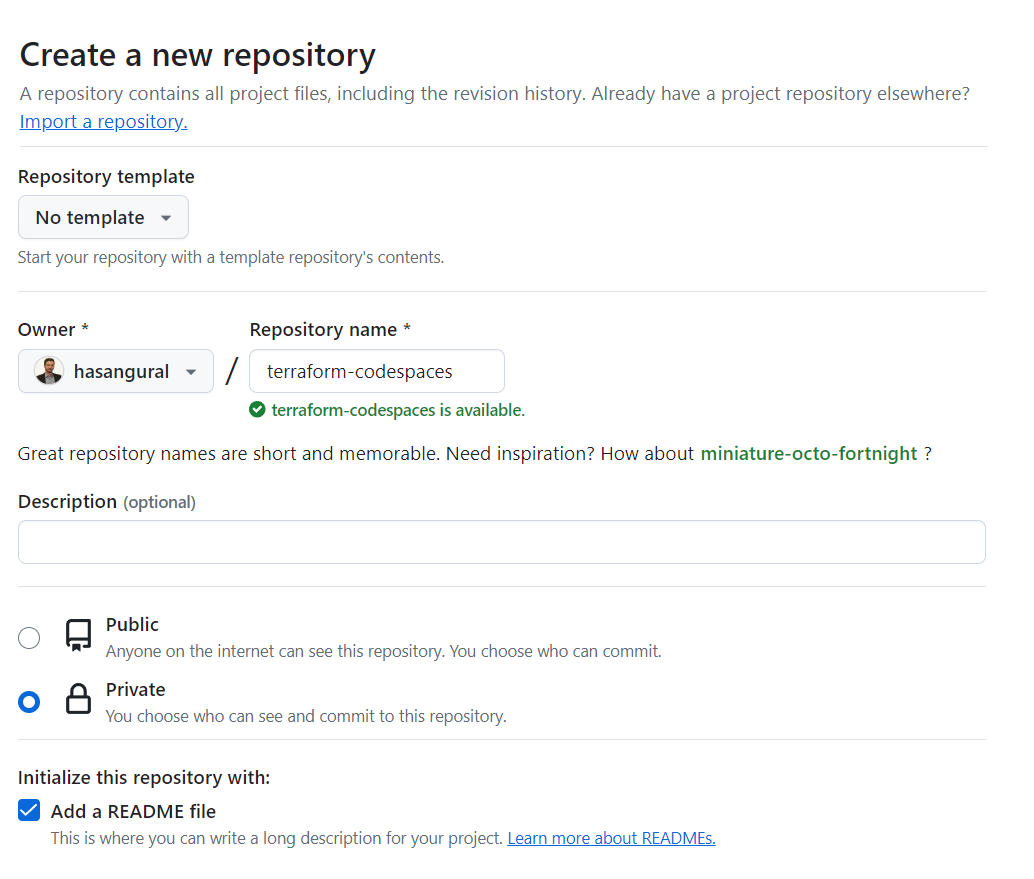
🧑💻Create a new repository
First, create a new repository in your GitHub account. You can name it whatever you want. I named mine terraform-codespaces
.
After creating your repository, look for the Code
button and click on it, then choose Codespaces
. Next, you'll notice an ellipsis; clicking on this opens the Codespace repository configuration
page. Here, you'll find a Configure dev container
button—go ahead and click on it.
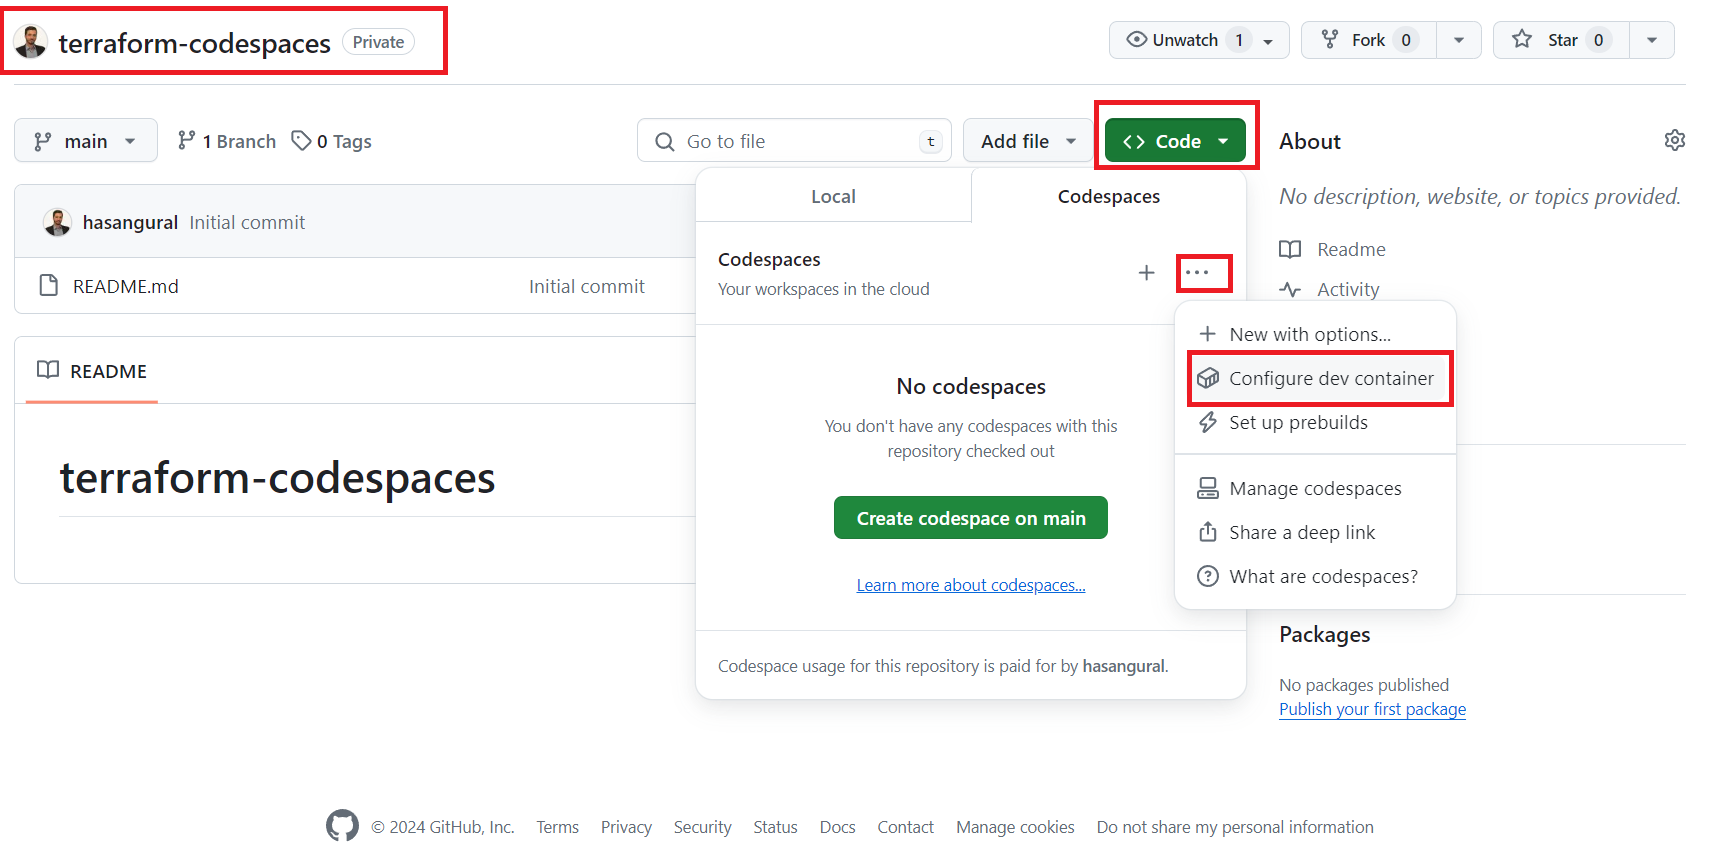
💥Configure dev container
In the Configure dev container
page, you will see devcontainer.json file is opened and on the right and side you will see marketplace. Search for Terraform
and select the Terraform
extension.
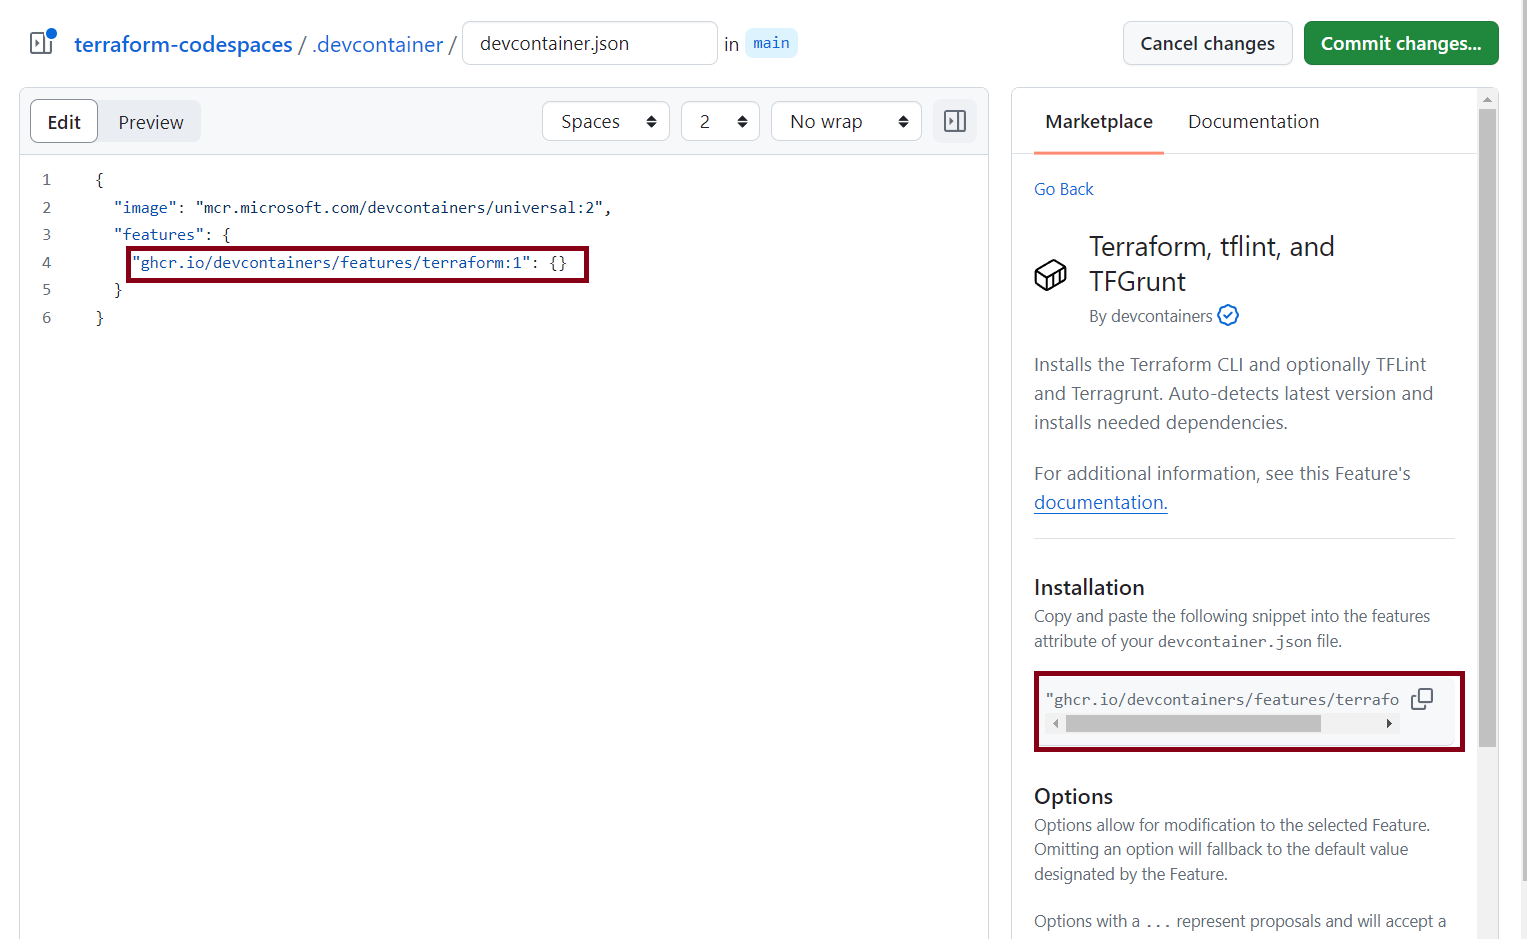
After adding the Terraform features in the devcontainer.json
file, you can save and commit the changes.
{
"image": "mcr.microsoft.com/devcontainers/universal:2",
"features": {
"ghcr.io/devcontainers/features/terraform:1": {}
}
}
Now, return to the Codespaces
section and click on the New codespace button to proceed.
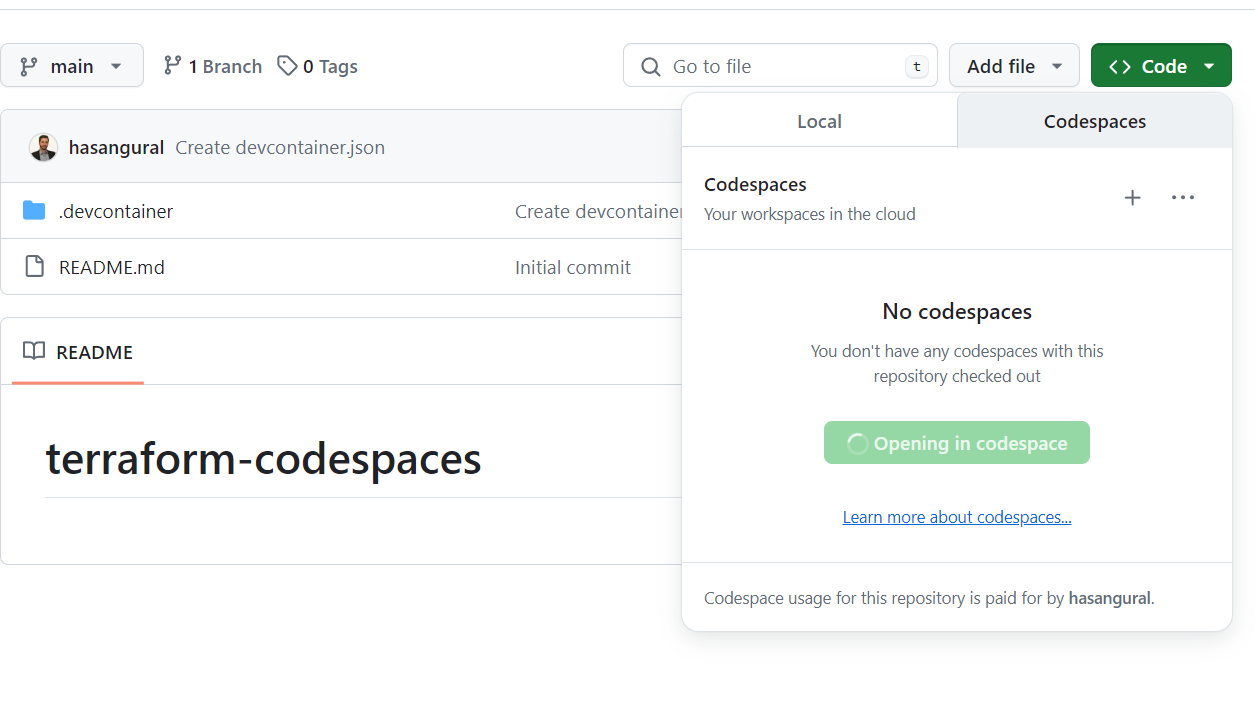
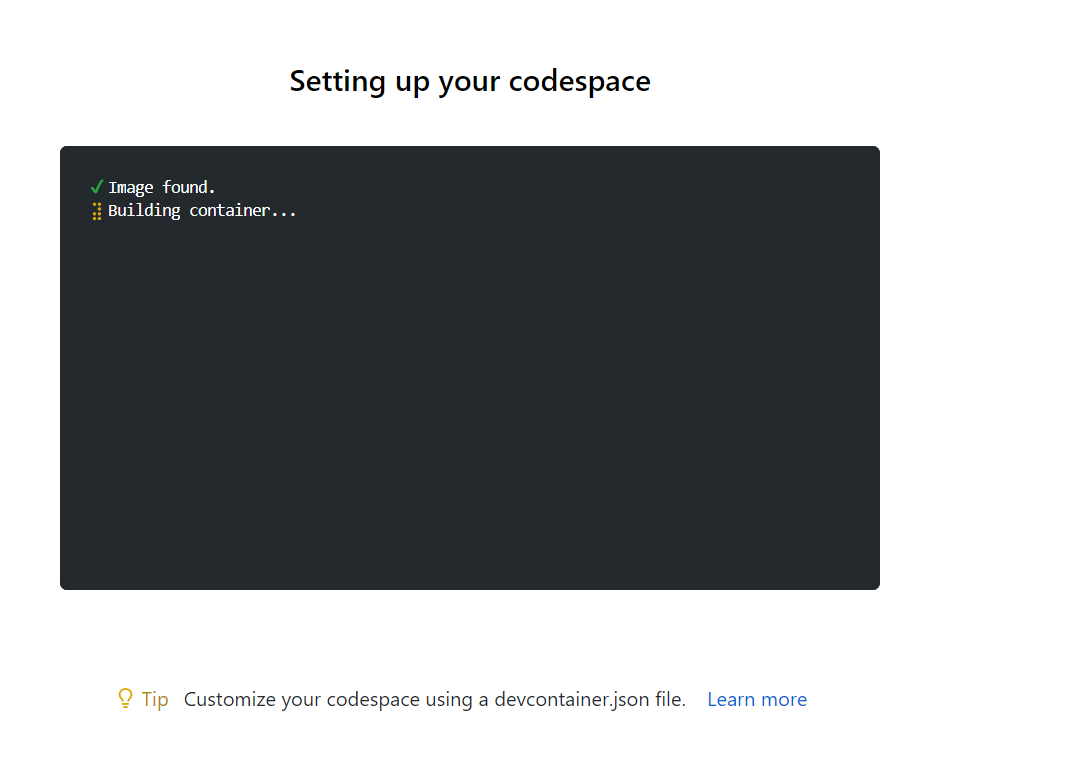
While your Codespace is being created, you see the progress. Once the setup is complete, you'll find yourself in Visual Studio Code with the Terraform CLI installed.
✨Wrapping up
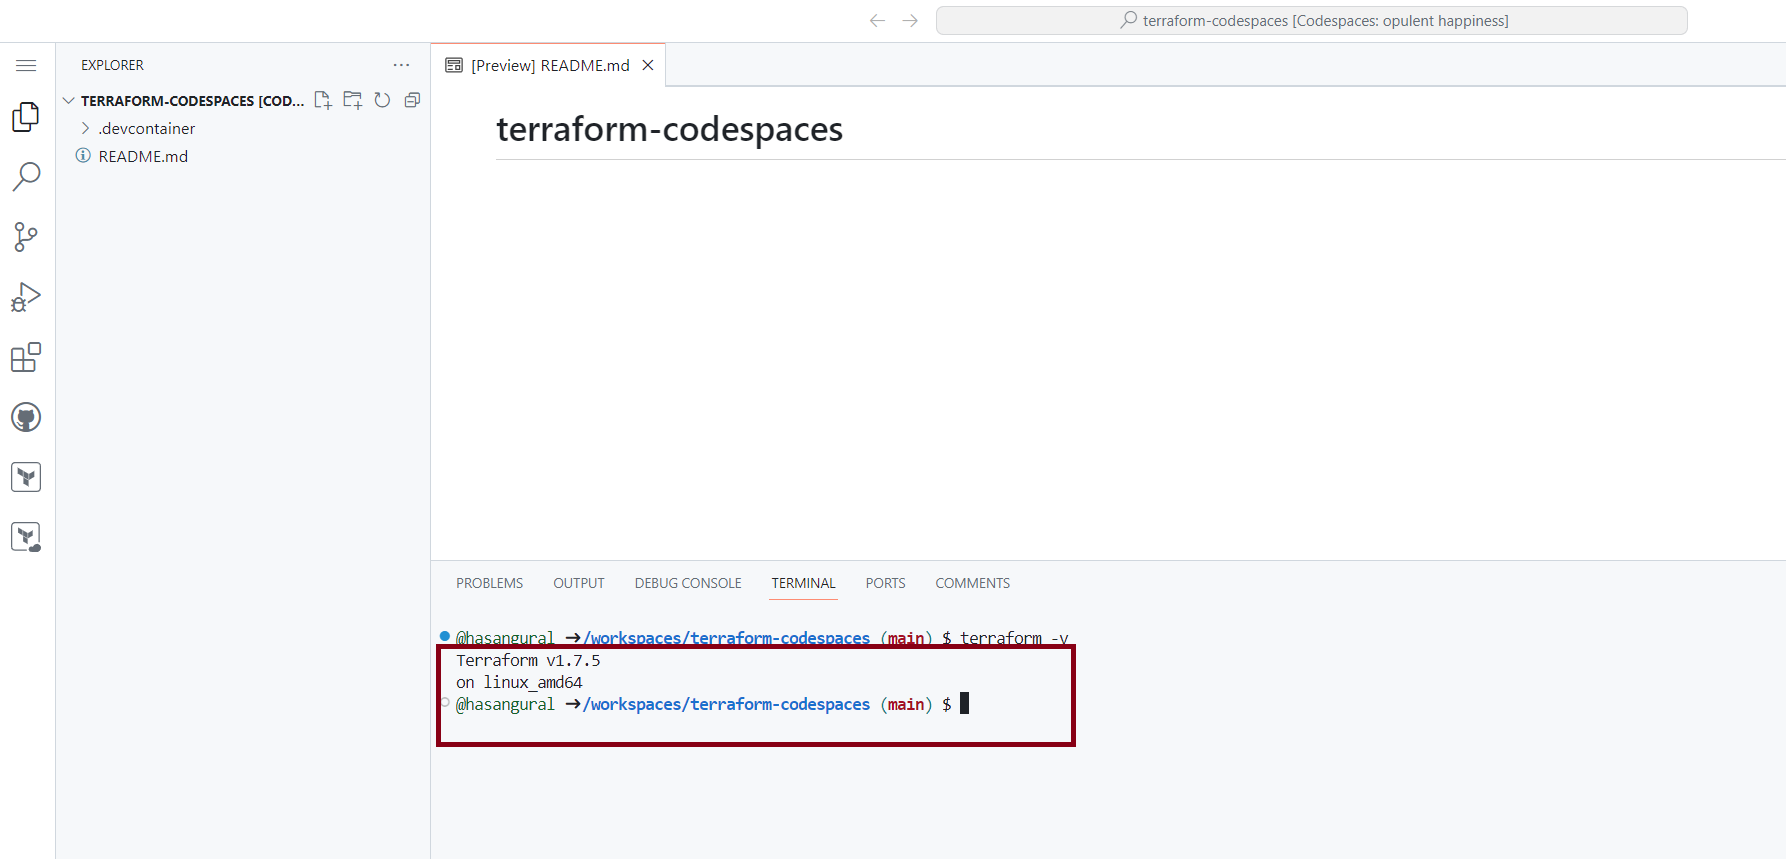
To confirm the Terraform installation, run the terraform --version
command in the terminal, which will display the version of Terraform installed in your Codespace. With this, we've successfully equipped a GitHub Codespace with Terraform, enabling on your Terraform projects without installing Terraform locally. That's it for this post. GitHub Codespaces is a fantastic tool for developers.
Deployment Script with Bicep - Part 2
In the previous blog post, we have covered how to create a deploymentScript
resource with Bicep. In this blog post, we will continue with the deployment script and talk about how to execute the script for accesing a private network from the deployment script.
👉 Accessing a private network from the deployment script
Imagine that you have a scenario where you have resources they locked down to a private network and you need to access them from your deployment script. In this case, you can use the deploymentScripts
resource to run a script that accesses the private network.
Deployment Script with Bicep - Part 1
When you are working on a project, sometimes you need to deploy your resources to Azure using a script. In this blog post, we will try to cover if we need to execute script for the pre and post deployment how we can achieve this with Bicep while we are deploying our resources to Azure using Bicep.
👉 What are deployment scripts?
DeploymentScripts
are a powerful feature that allows you to run either PowerShell or Bash scripts as part of your Bicep deployment. These scripts execute in a Docker container, providing a flexible way to add custom behavior to your deployment process. With either Azure CLI or Azure PowerShell at your disposal, so you can automate almost anything you need to do in your deployment if you have to execute a script before or after the deployment.