
23 posts tagged with "IaC"

View All Tags

· One min read
Hasan Gural

I'm excited to announce that, continuing my journey since 2017, I will be speaking at the Azure Global Bootcamp 2024 on April 18-20. This year, I’m eager to share more insights and learnings with the Azure community. Join me as we dive into the latest Azure advancements and tackle current tech challenges together.

GlobalBootCamp2024

· 2 min read
Hasan Gural

I really like the idea of GitHub Codespaces. It is a cloud-based development environment that you can access from anywhere. This approach allows you to develop applications without the need for installing or configuring dependent services or tools locally, providing developers with a uniform method for working on applications and scripts.

GitHub Codespaces

Given my passion for Infrastructure as Code (IaC), I wanted to show how I could use GitHub Codespaces to work with Terraform. Before we start, let's take a look at the prerequisites:

  • A GitHub account
  • You can start with a free account with 60 hours of usage per month for GitHub Codespaces

🧑‍💻Create a new repository

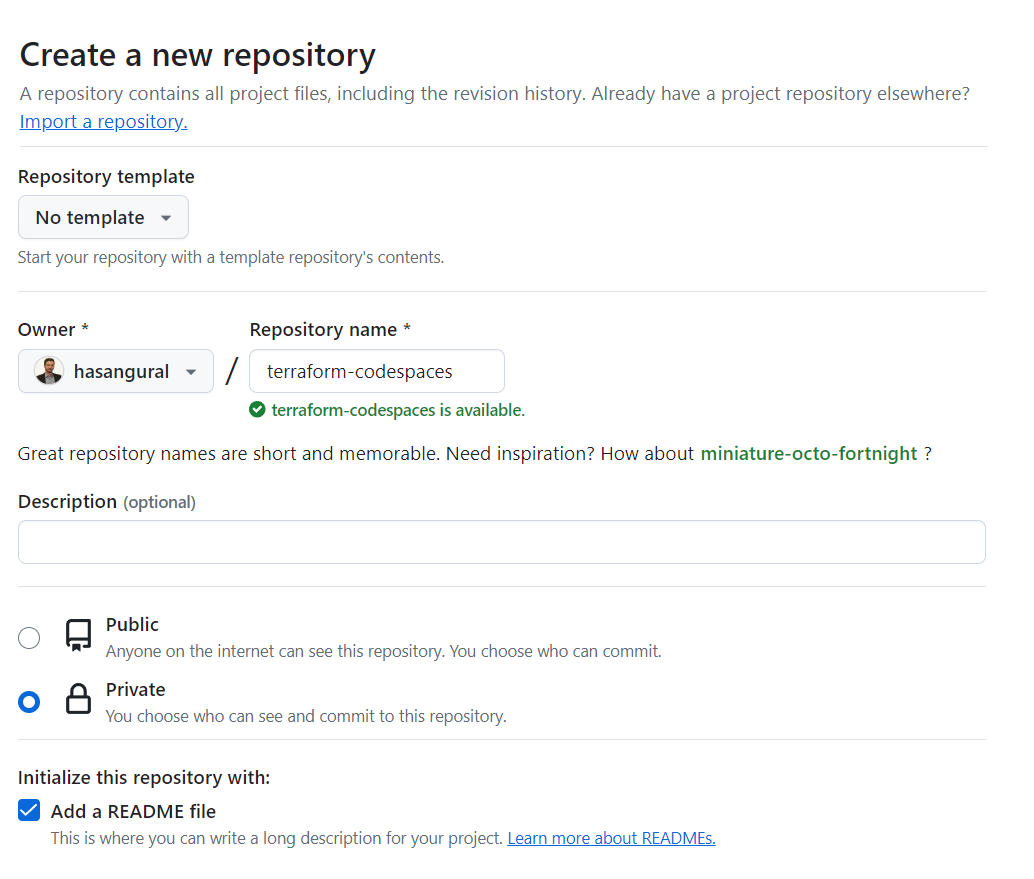
First, create a new repository in your GitHub account. You can name it whatever you want. I named mine terraform-codespaces.

Create a new repository

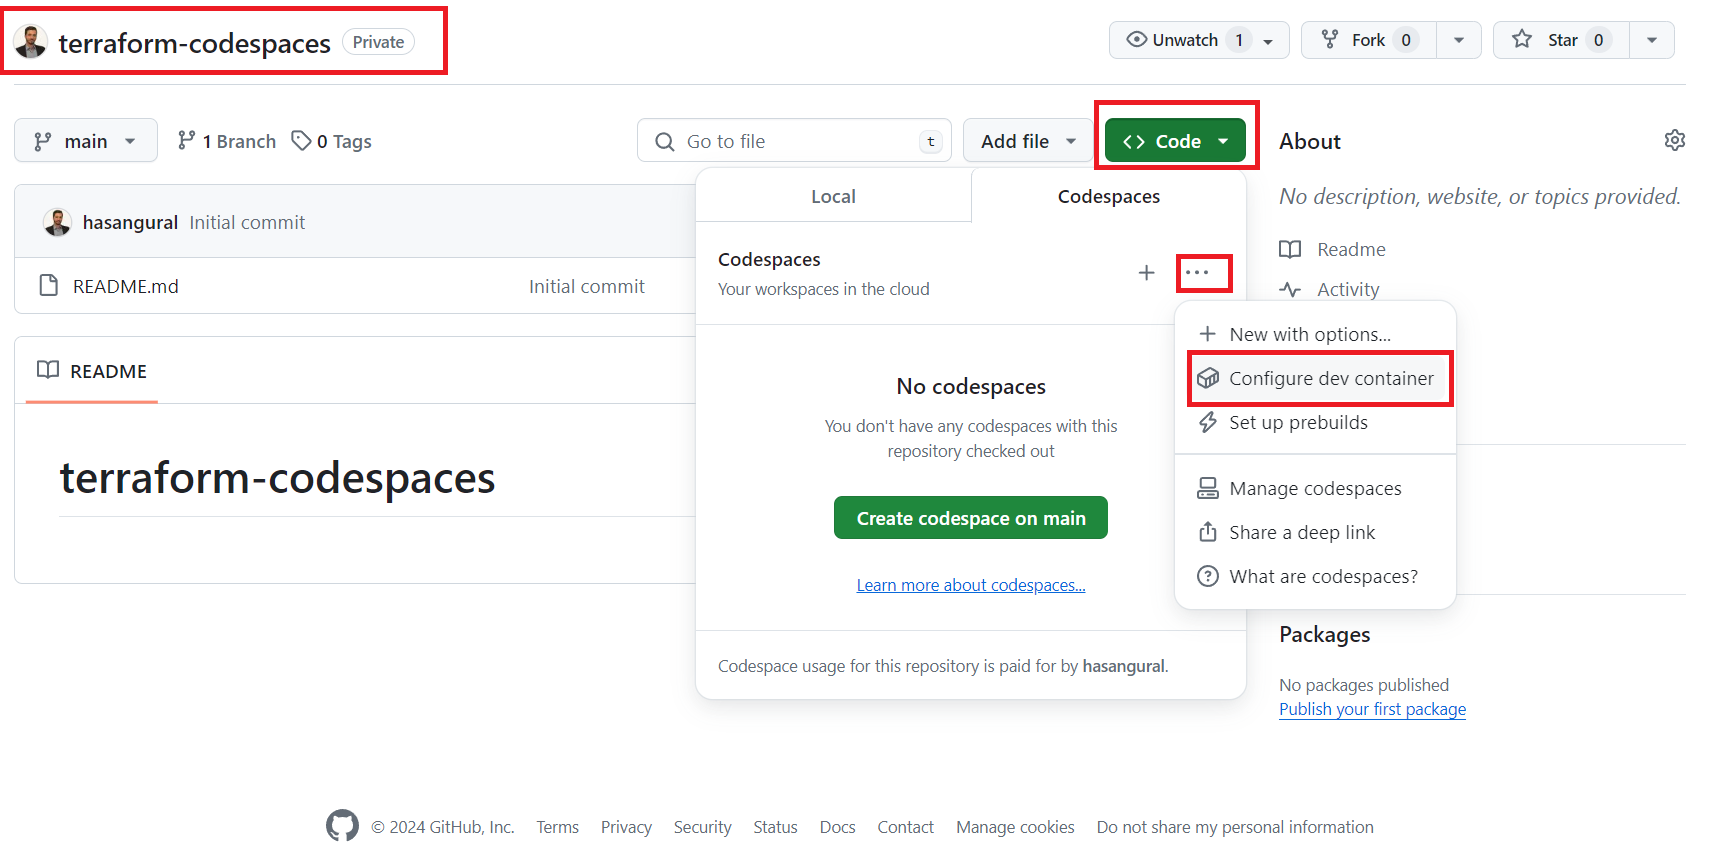
After creating your repository, look for the Code button and click on it, then choose Codespaces. Next, you'll notice an ellipsis; clicking on this opens the Codespace repository configuration page. Here, you'll find a Configure dev container button—go ahead and click on it.

Codespace repository configuration

💥Configure dev container

In the Configure dev container page, you will see devcontainer.json file is opened and on the right and side you will see marketplace. Search for Terraform and select the Terraform extension.

Configure dev container

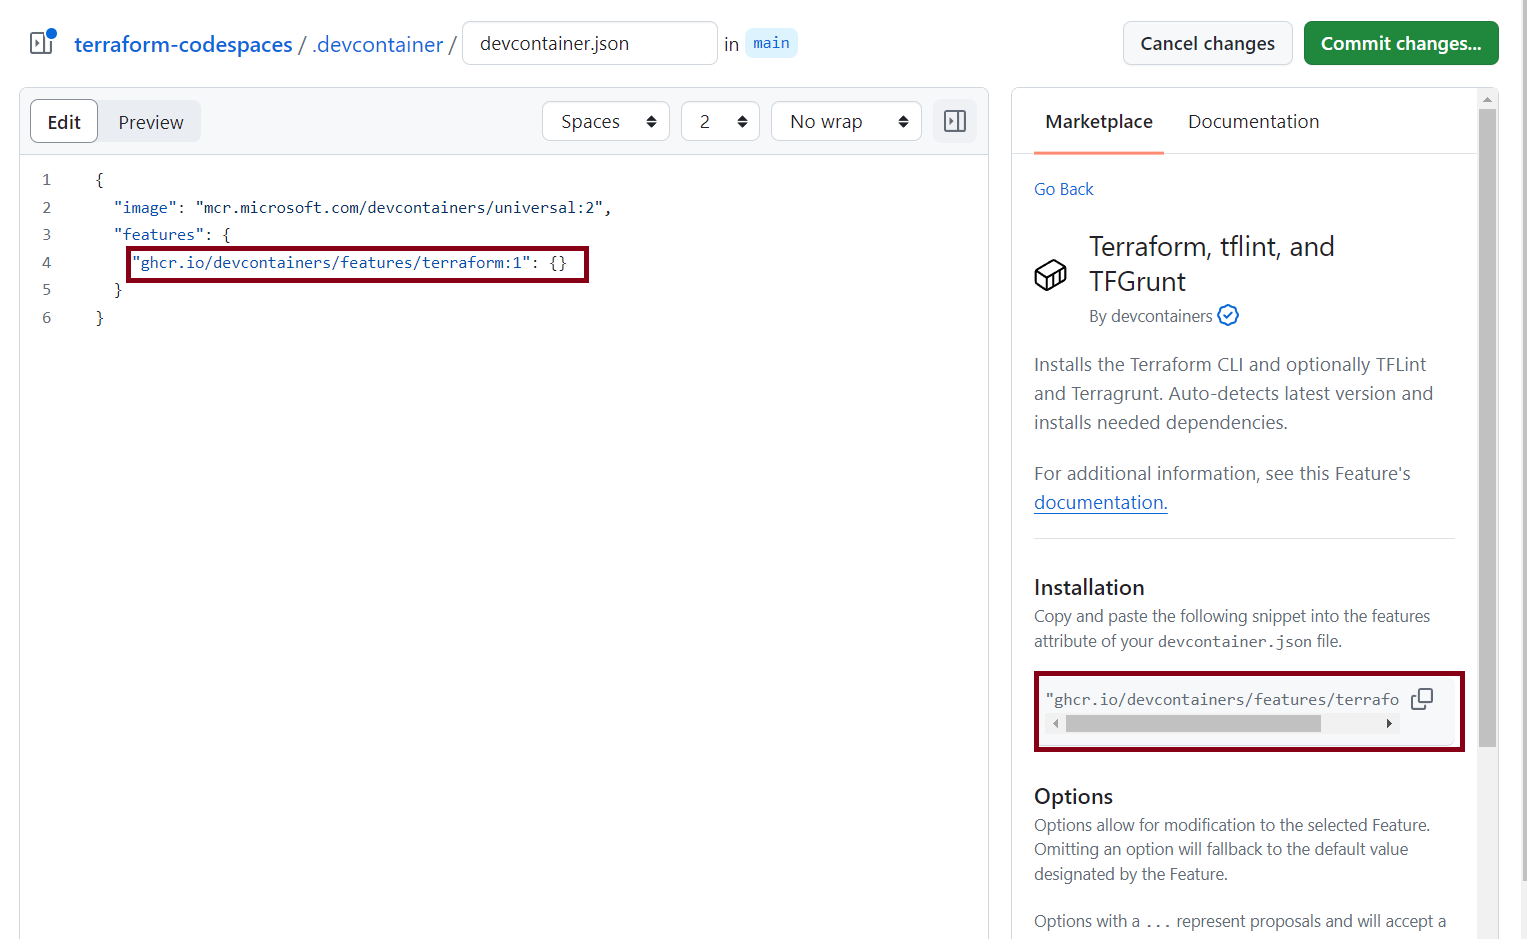
After adding the Terraform features in the devcontainer.json file, you can save and commit the changes.

{
"image": "mcr.microsoft.com/devcontainers/universal:2",
"features": {
"ghcr.io/devcontainers/features/terraform:1": {}
}
}

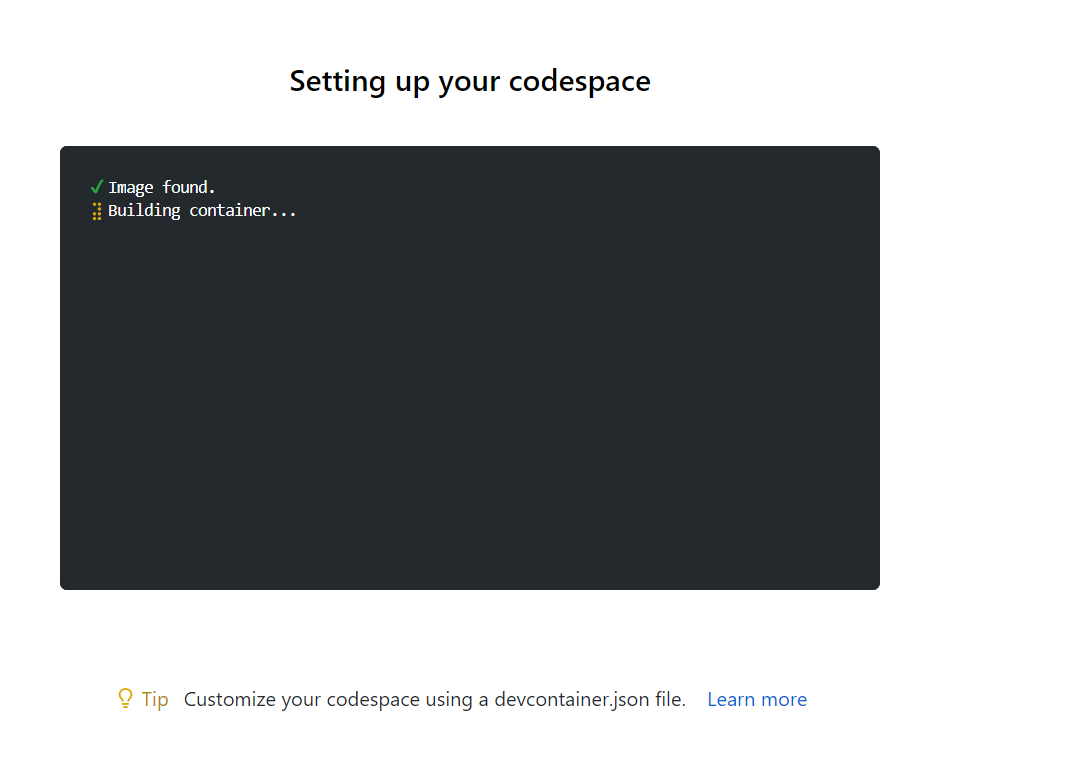
Now, return to the Codespaces section and click on the New codespace button to proceed.

New Codespace Instance

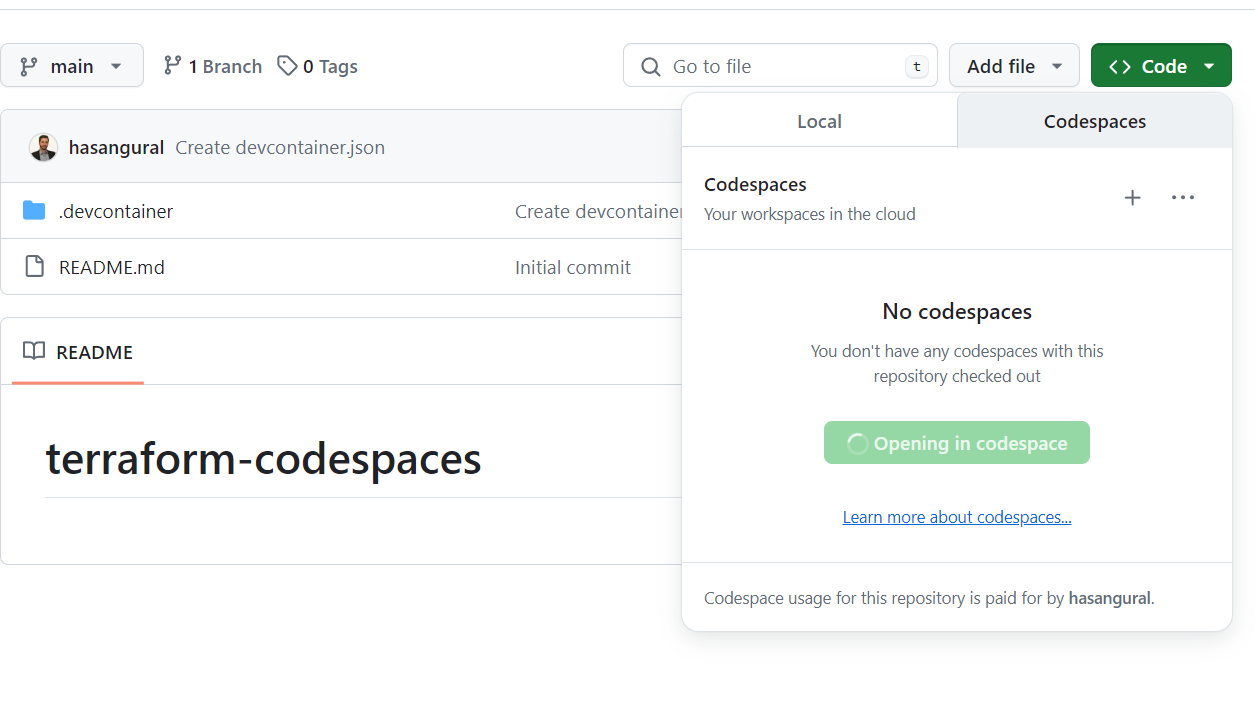
While your Codespace is being created, you see the progress. Once the setup is complete, you'll find yourself in Visual Studio Code with the Terraform CLI installed.

New Codespace Instance

✨Wrapping up

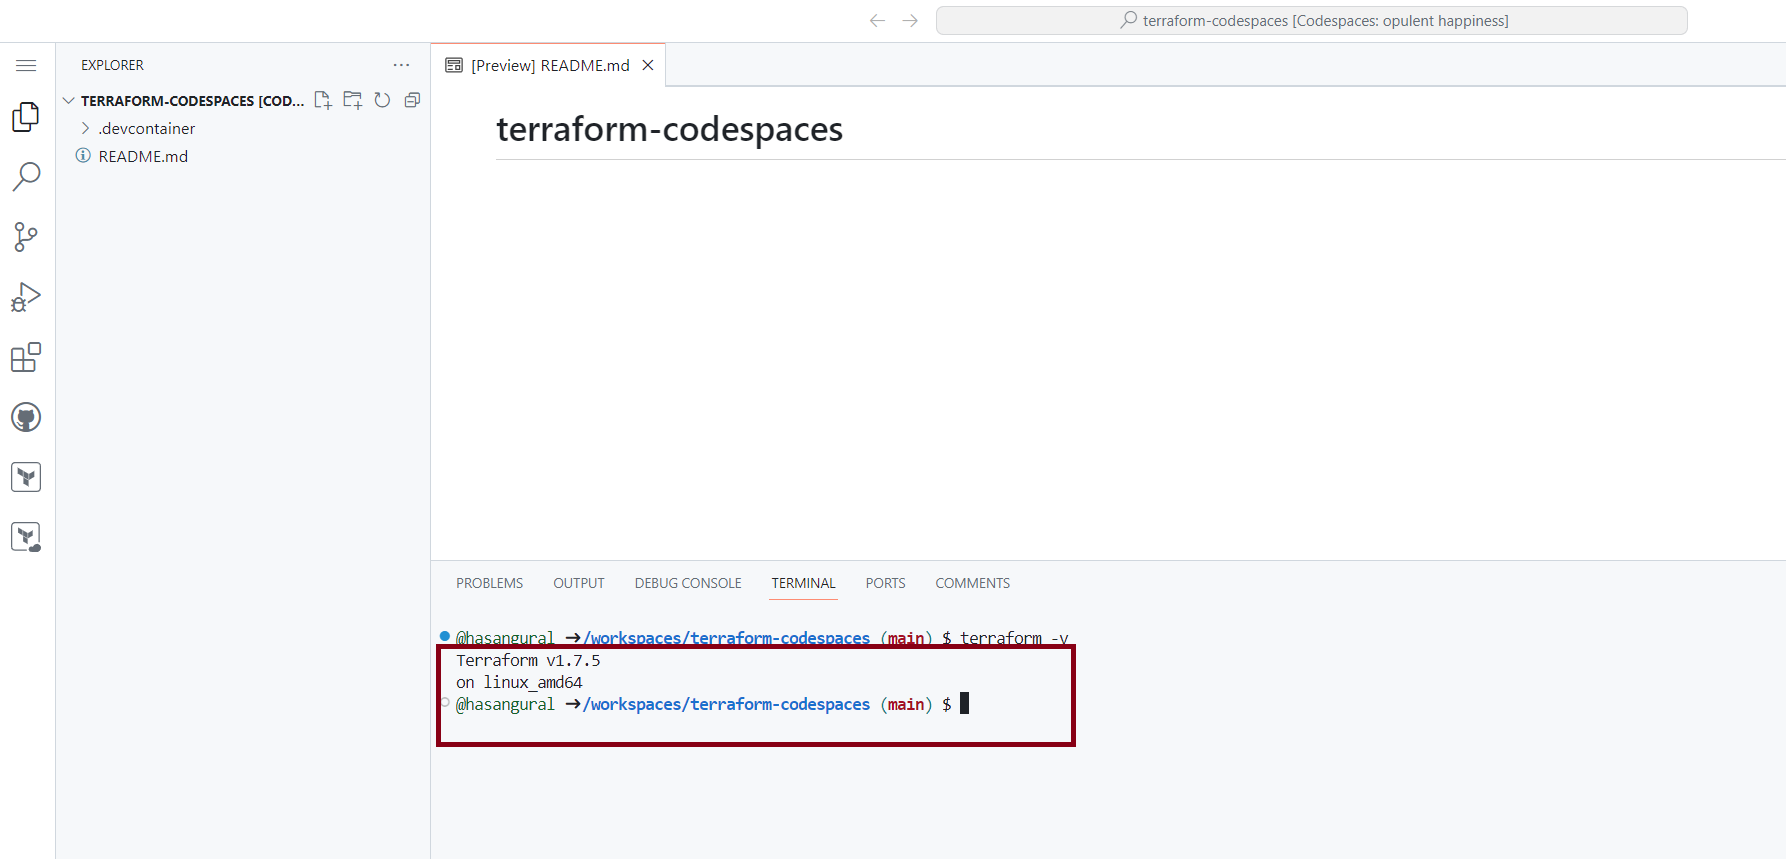
To confirm the Terraform installation, run the terraform --version command in the terminal, which will display the version of Terraform installed in your Codespace. With this, we've successfully equipped a GitHub Codespace with Terraform, enabling on your Terraform projects without installing Terraform locally. That's it for this post. GitHub Codespaces is a fantastic tool for developers.

VSCode Terminal

· 5 min read
Hasan Gural

Hello Folks,

I'm here to talk about an interesting topic today. I will be sharing my experience on how to create SFTP users for Azure Storage Accounts. This is a three-part series. In this first part, we will cover the basics of SFTP and how to create an SFTP user for an Azure Storage Account using Bicep. In the second part, we will discuss how to create a password for the SFTP user and how to use it to connect to the Azure Storage Account.

· 3 min read
Hasan Gural

In the previous blog post, we left out an example where we have parameters for vNetAddress, vSubnetCount, and vSubnetRange. I would like to show how the deployment looks like when we use what-if and how the output looks like.

Our requirement was to create a virtual network with a given address space and a given number of subnets. We also wanted to specify the range of subnets. We used the cidrSubnet function to create the subnets.

· 4 min read
Hasan Gural

Welcome to the start of our journey with Bicep CIDR functions! This series is something I've been excited to share, offering insights into subnetting and network configurations, especially within the realm of Infrastructure as Code (IaC).

In this part, we're going to cover the basics of Bicep CIDR functions, including how they can be used and in which scenarios they are most applicable. But before we dive into the details, let's begin with a brief introduction to Bicep CIDR functions.

· 3 min read
Hasan Gural

Sadly, Azure Bicep and ARM Templates lack a built-in option for local deployment trials, particularly when your template involves variables, parameters, functions, and outputs. To test the functionality of certain functions or data structures, deploying them in Azure is still necessary. This challenge persists, meaning each time you wish to experiment with just your variables and outputs, initiating a deployment via AZ_CLI or PowerShell is required to observe the outcomes.

However, the Bicep team has been working on a new feature that will make this process much more straightforward. The new feature, known as the "Deployment Pane," is currently in preview and available in VSCode. This feature allows you to deploy your Bicep files quickly and easily, without the need to use the Azure CLI or PowerShell.

· 4 min read
Hasan Gural

Welcome back! In our previous session, we delved into the strengths of YAML as a tremendous alternative for orchestrating Azure configurations via Bicep. Today, I'll guide you through deploying Azure resources using a YAML with Bicep.

🧑‍💻 Using YAML and Bicep Together

Revisiting the previous post, you might remember our YAML file, structured as follows:

resourceGroups:
- name: "app01"
location: "westeurope"
tags:
environment: "dev"
project: "project01"

- name: "app02"
location: "northeurope"
tags:
environment: "dev"

This file lists two resource groups, app01 and app02. Each resource group has a name, location, and tags property. It's like a to-do list for our task. Now, we will write a resource block in Bicep to create these resource groups in Azure.

· 5 min read
Hasan Gural

Greetings, everyone! This blog post marks the beginning of a series dedicated to exploring how YAML can be effectively utilized in conjunction with Bicep for deploying resources on Azure. This is the first part of a series. Here, we'll start with the basics of YAML and Bicep and learn how they work together to help us with resource provisioning on Azure.

💬 Why YAML, and What Are the Options?

After our introduction to this series, you might be wondering, Why YAML? YAML, which stands for YAML Ain't Markup Language, is a human-readable data serialization standard. It is used in a variety of programming and IT contexts, but why is it so important for Azure resource deployment, particularly with Bicep? Before we dive deeper into why YAML is a great choice, let's look at the alternatives available in ARM templates or Bicep:

image