69 posts tagged with "Azure"

View All Tags

· One min read
Hasan Gural

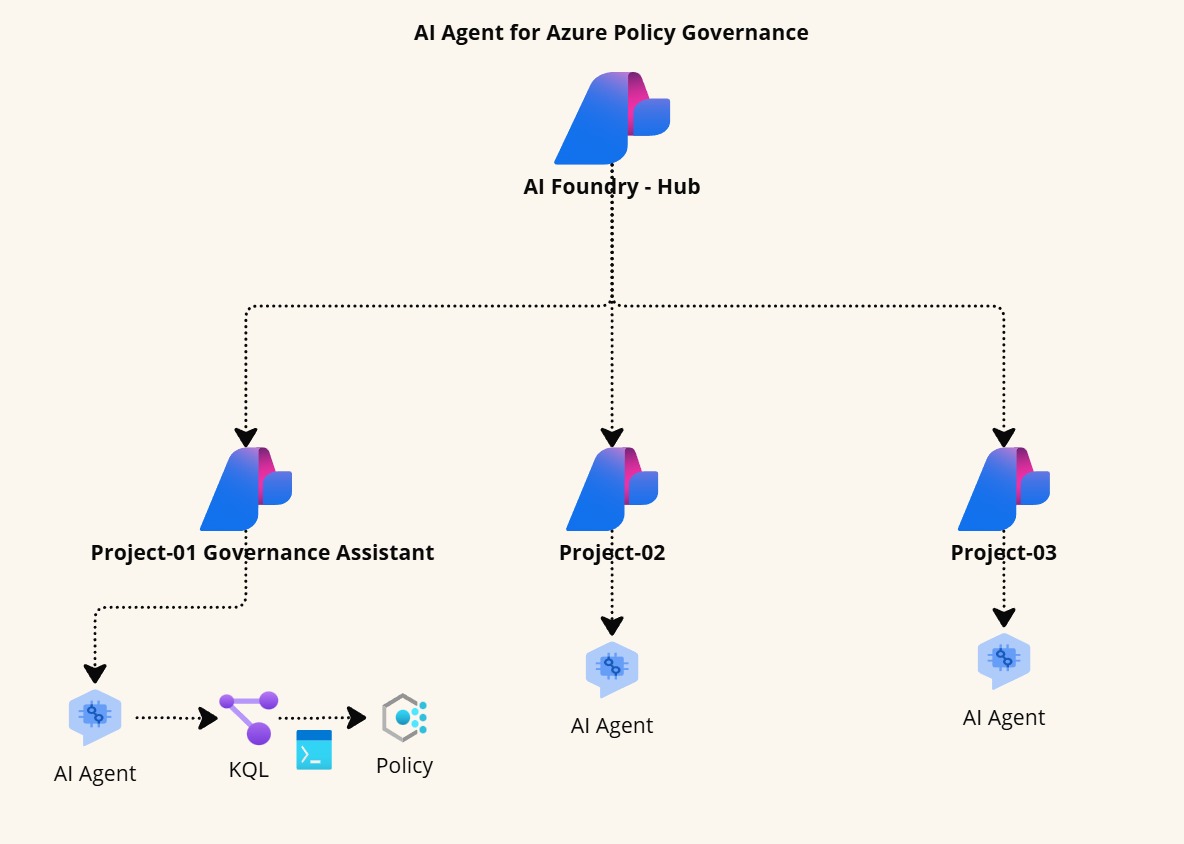
I'm excited to announce that, continuing my journey since 2017, I will be speaking at the Azure Global Bootcamp 2024 on April 18-20. This year, I’m eager to share more insights and learnings with the Azure community. Join me as we dive into the latest Azure advancements and tackle current tech challenges together.

GlobalBootCamp2024

· 2 min read
Hasan Gural

I really like the idea of GitHub Codespaces. It is a cloud-based development environment that you can access from anywhere. This approach allows you to develop applications without the need for installing or configuring dependent services or tools locally, providing developers with a uniform method for working on applications and scripts.

GitHub Codespaces

Given my passion for Infrastructure as Code (IaC), I wanted to show how I could use GitHub Codespaces to work with Terraform. Before we start, let's take a look at the prerequisites:

  • A GitHub account
  • You can start with a free account with 60 hours of usage per month for GitHub Codespaces

🧑‍💻Create a new repository

First, create a new repository in your GitHub account. You can name it whatever you want. I named mine terraform-codespaces.

Create a new repository

After creating your repository, look for the Code button and click on it, then choose Codespaces. Next, you'll notice an ellipsis; clicking on this opens the Codespace repository configuration page. Here, you'll find a Configure dev container button—go ahead and click on it.

Codespace repository configuration

💥Configure dev container

In the Configure dev container page, you will see devcontainer.json file is opened and on the right and side you will see marketplace. Search for Terraform and select the Terraform extension.

Configure dev container

After adding the Terraform features in the devcontainer.json file, you can save and commit the changes.

{
"image": "mcr.microsoft.com/devcontainers/universal:2",
"features": {
"ghcr.io/devcontainers/features/terraform:1": {}
}
}

Now, return to the Codespaces section and click on the New codespace button to proceed.

New Codespace Instance

While your Codespace is being created, you see the progress. Once the setup is complete, you'll find yourself in Visual Studio Code with the Terraform CLI installed.

New Codespace Instance

✨Wrapping up

To confirm the Terraform installation, run the terraform --version command in the terminal, which will display the version of Terraform installed in your Codespace. With this, we've successfully equipped a GitHub Codespace with Terraform, enabling on your Terraform projects without installing Terraform locally. That's it for this post. GitHub Codespaces is a fantastic tool for developers.

VSCode Terminal

· 4 min read
Hasan Gural

In the previous blog post, we have covered how to create a deploymentScript resource with Bicep. In this blog post, we will continue with the deployment script and talk about how to execute the script for accesing a private network from the deployment script.

👉 Accessing a private network from the deployment script

Imagine that you have a scenario where you have resources they locked down to a private network and you need to access them from your deployment script. In this case, you can use the deploymentScripts resource to run a script that accesses the private network.

· 3 min read
Hasan Gural

When you are working on a project, sometimes you need to deploy your resources to Azure using a script. In this blog post, we will try to cover if we need to execute script for the pre and post deployment how we can achieve this with Bicep while we are deploying our resources to Azure using Bicep.

👉 What are deployment scripts?

DeploymentScripts are a powerful feature that allows you to run either PowerShell or Bash scripts as part of your Bicep deployment. These scripts execute in a Docker container, providing a flexible way to add custom behavior to your deployment process. With either Azure CLI or Azure PowerShell at your disposal, so you can automate almost anything you need to do in your deployment if you have to execute a script before or after the deployment.

· 5 min read
Hasan Gural

Hey folks,

In this post, I want to get into Role Assignments that have been made at the subscription scope or more specifically, at the resource group or resource level, and try to analyze and generate a report for them. Microsoft has enhanced the Resource Graph to retrieve assignments directly through Resource Graph queries, whereas previously we were doing it via PowerShell.

Retrieving Role Assignments with PowerShell

· 5 min read
Hasan Gural

Hello Folks,

I'm here to talk about an interesting topic today. I will be sharing my experience on how to create SFTP users for Azure Storage Accounts. This is a three-part series. In this first part, we will cover the basics of SFTP and how to create an SFTP user for an Azure Storage Account using Bicep. In the second part, we will discuss how to create a password for the SFTP user and how to use it to connect to the Azure Storage Account.

· 3 min read
Hasan Gural

In the previous blog post, we left out an example where we have parameters for vNetAddress, vSubnetCount, and vSubnetRange. I would like to show how the deployment looks like when we use what-if and how the output looks like.

Our requirement was to create a virtual network with a given address space and a given number of subnets. We also wanted to specify the range of subnets. We used the cidrSubnet function to create the subnets.

· 4 min read
Hasan Gural

Welcome to the start of our journey with Bicep CIDR functions! This series is something I've been excited to share, offering insights into subnetting and network configurations, especially within the realm of Infrastructure as Code (IaC).

In this part, we're going to cover the basics of Bicep CIDR functions, including how they can be used and in which scenarios they are most applicable. But before we dive into the details, let's begin with a brief introduction to Bicep CIDR functions.